All posts by admin

AI on the Edge LESSON 12: Introduction to Python Threading on the Raspberry Pi

Hey everyone, and welcome back to the AI on the Edge series!

In today’s lesson, we’re tackling one of the most important programming concepts you’ll need as we build more advanced AI and robotics projects — Python Threading.

Up until now, our programs have been pretty linear — they do one thing at a time. But as our projects get smarter and more interactive, we often need several things happening at the same time. That’s exactly where threading comes in. In this lesson, I give you a gentle, practical introduction to threading by creating a program that blinks an LED while simultaneously listening for your commands to change the blink speed — all without one task blocking the other.

You’ll see how to create a separate thread that handles user input while the main program continues blinking the LED smoothly. We also use a Queue to safely pass data between the threads. This is a foundational skill that becomes incredibly valuable later in the class when we need to run voice recognition, camera processing, sensor reading, and motor control all at the same time.

I designed this lesson to be very beginner-friendly. If you’ve never used threading before, don’t worry — I walk you through every line of code and explain why we do things the way we do. By the end of this video, you’ll have a solid understanding of how to launch background threads, manage shared variables safely, and keep your main program responsive.

This lesson is a big stepping stone in our AI on the Edge journey. The ability to run multiple tasks concurrently is what separates simple scripts from real-world intelligent systems that can listen, think, and act at the same time.

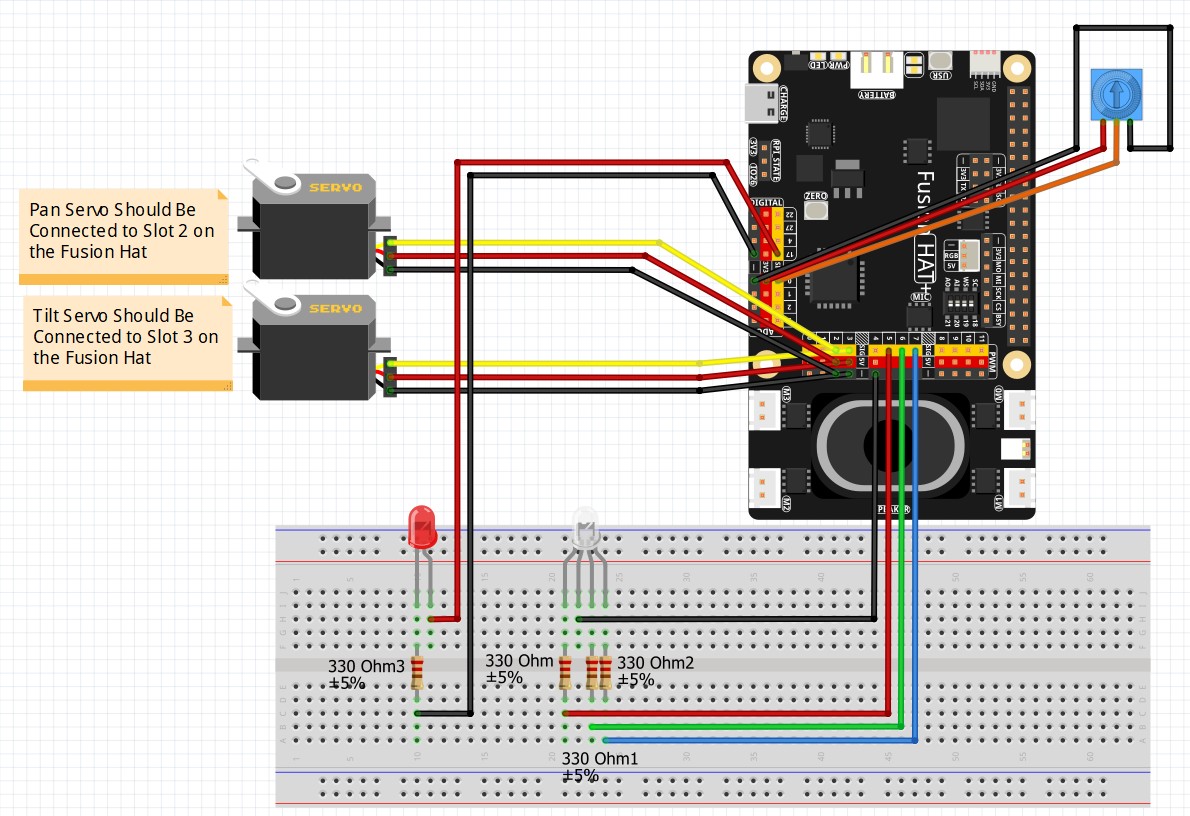
So grab your SunFounder Fusion AI Hat, hook up an LED, and get ready to take your Raspberry Pi programming skills to the next level. Once you understand threading, a whole new world of possibilities opens up!

As always, I strongly encourage you to code along with me in the video and then experiment on your own. Try adding more LEDs, change the commands, or combine it with things we’ve learned in previous lessons. That hands-on practice is where the real learning happens.

I’m really excited for you to learn this one — it’s going to make the rest of the class a lot more fun and powerful!

In today’s lesson, this is the code we developed.


AI on the Edge LESSON 11: Control LED on Raspberry Pi With Voice Commands

In today’s lesson, we’re taking our first exciting step into giving our Raspberry Pi the ability to understand and respond to our voice. That’s right — we’re going to control a physical LED using nothing but spoken commands! This is a huge milestone in the class because it marks the beginning of building truly interactive AI projects that can listen to us and take action in the real world.

Using the SunFounder Fusion AI Hat’s built-in microphone and the excellent STT (Speech-to-Text) library, we create a simple but powerful voice assistant that can turn an LED on and off with commands like “on”, “off”, and “quit”. I walk you through every single line of the code so you can clearly see how we capture voice input, process the command, and control real hardware.

This lesson is intentionally straightforward because I want you to build a strong foundation. Once you understand how to take a voice command and turn it into physical action, we can start adding more complexity — like controlling multiple devices, adjusting brightness, or even combining voice control with computer vision in future lessons.

One of the things I love most about this project is how it makes the Raspberry Pi feel “alive.” Instead of clicking buttons or typing commands, you can now talk directly to your project. This is the kind of interaction that makes edge AI projects so much fun and so powerful.

By the end of this lesson, you’ll have a working voice-controlled LED and the confidence to start expanding your voice control skills. This is exactly the kind of capability we need as we move forward in the AI on the Edge journey — giving our intelligent systems natural, human-friendly ways to interact with us.

So grab your Fusion AI Hat, hook up that LED, and let’s turn your Raspberry Pi into a voice-controlled device! As always, I strongly encourage you to code along with me in the video and then play around with the program. Try adding more commands, control multiple LEDs, or even have it say something back to you.

This is where things start getting really fun. Let’s get that LED responding to your voice!

This is the schematic of the circuit we are using for our AI class. We go into great detail on this schematic in LESSON #5 if you want to learn more about it.

Fusion Hat Circuit Diagram
This is the circuit we will use moving forward in the class

Now this is the code we developed in this lesson:


AI on the Edge LESSON 10: Make Your Raspberry Pi Listen to You with Voice Commands

In this video lesson you will learn how to train the Raspberry Pi to take voice commands from you. We do this through the Fusion AI+ hat’s microphone, and a Speech to Text (STT) model. Our goal is to develop the ability to interact with our projects through spoken words. We give commands to the project, and then it responds intelligently with words.

Remember these lessons depend on you using the AI Educational OS, a special version of bookworm that has all the libraries, modules, and models already installed for you. See LESSON #2 in this class for instructions on flashing that OS.

Below is the simple demonstration code we developed to give simple voice commands:

Similar to our Speech to Text example, the first time you run this program you will get a permissions error. You need to open a terminal, and put these commands in one at a time to enable permissions. This only has to be done once, and after that this and all STT programs should run properly.


AI on the Edge LESSON 9: Make Your Raspberry Pi Talk with TTS

In today’s lesson, we’re going to make a huge leap forward in giving our Raspberry Pi some real personality. We’re going to teach it how to talk using Text-to-Speech (TTS). Instead of just blinking LEDs or printing text to the screen, our Pi will now speak out loud with a clear, natural-sounding voice.

This is a really fun and important lesson because one of the main goals of this class is to build intelligent systems that can interact with us in more human ways. Being able to make your Raspberry Pi speak opens up all kinds of exciting possibilities — whether you want your robot to tell you what it sees, have your AI assistant read sensor data out loud, or just add some personality and humor to your projects.

In this video, I show you how to use the TTS capabilities on the SunFounder Fusion AI Hat. You’ll learn how to install and set up the TTS engine, speak simple sentences, change voices, and control when the Pi talks. We’ll also look at how to make the speech sound more natural and how to integrate it smoothly into your programs without freezing everything else.

By the end of this lesson, your Raspberry Pi will be able to speak clearly and confidently — which is going to make the rest of our AI on the Edge journey a lot more exciting. Voice output combined with voice input (which we’ll work on soon) is what turns a simple circuit into a real interactive AI companion.

So go ahead and grab your Fusion AI Hat, plug in a speaker, and let’s give your Raspberry Pi a voice! As always, I encourage you to code along with me in the video and then experiment. Try making it say funny things, read temperatures, announce when it detects a face — whatever sparks your creativity.

This is where your projects start to feel truly alive.

I’m really excited for you on this one — let’s make your Raspberry Pi talk!

This is the schematic we are using on these projects;

Fusion Hat Circuit Diagram
This is the circuit we will use moving forward in the class

This Schematic is explained in detail in LESSON #5.

Then this is the code we developed in today’s lesson.


AI on the Edge LESSON 8: Text to Speech (TTS) on the Raspberry Pi

In this video lesson I will show you how to get the Raspberry Pi to speak to you in plain English. This is our first dabbling with AI. In earlier lessons we have discussed that one of our first objectives will be to begin to audibly interact with our project through speech. The first step will be to get the Pi to talk to us. Then in future lessons we will show how to get the Pi to listen to us.

In this lesson we demonstrated simple Text to Speech (TTS) with this code.

Remember this program requires use of the AI Educational OS we flashed in LESSON #2.

As we say in the video, the first time you run the program you will get a permission error. This is because the model folders are inside a system folder and must be created as a ‘superuser’ using ‘sudo’. As shown in the video, you need to open a terminal window, and type in these commands at the command prompt (Put them in one at a time):

You only need to do that one time. Next time you run the program, all will work properly.

Then, in order to hear all the different voice models Piper offers, you can run this program, and each voice will introduce itself to you.


Remember in these early lessons we are using this circuit to demo our programs. Please leave this circuit put together.

Fusion Hat Circuit Diagram
This is the circuit we will use moving forward in the class