
 Sketchup is a great place to start in learning 3D CAD design, but you will very quickly want to step up to a more powerful platform. Our favorite tool for sophisticated design is Fusion 360. As of the writing of this post, Fusion 360 offers a free download for hobby, noncommercial use. Google “Fusion 360 for Home Hobby Use”. The lessons below will take you through Fusion 360 step-by-step. You will be designing sophisticated 3D objects in no time. In this series of lessons we focus on design for 3D printing.
Fusion 360 Lesson 1: This is an introduction to Fusion 360 for the absolute beginner. This is the lesson for you if you have tried and failed in the past to learn Autocad, or other Autodesk product. This time you will be successful!
Fusion 360 LESSON 2: In this lesson we will take you through your first 3D design in Fusion 360. Do not be intimidated, we will go slow and take you through it step-by-step.
Fusion 360 LESSON 3: A key to being successful in Fusion 360 is to understand the concept of constraints. Not understanding constraints is the main reason Fusion 360 behaves in unexpected ways. By understanding constraints, you will remove one of the biggest frustrations in becoming an expert 3D modeler.
Fusion 360 LESSON 4: In this lesson we will show you how to use the move tool. This tool is not as intuitive as you might expect, but after this lesson you will be an expert, and will be able to make your designs move where you want them to go.
Fusion 360 LESSON 5: In this lesson we introduce you to the concept of Parametric Design. Parametric Design is an extremely powerful design concept that will allow you to create sophisticated 3D designs that are easy to adapt and modify. This is an important lesson, so lets do it!
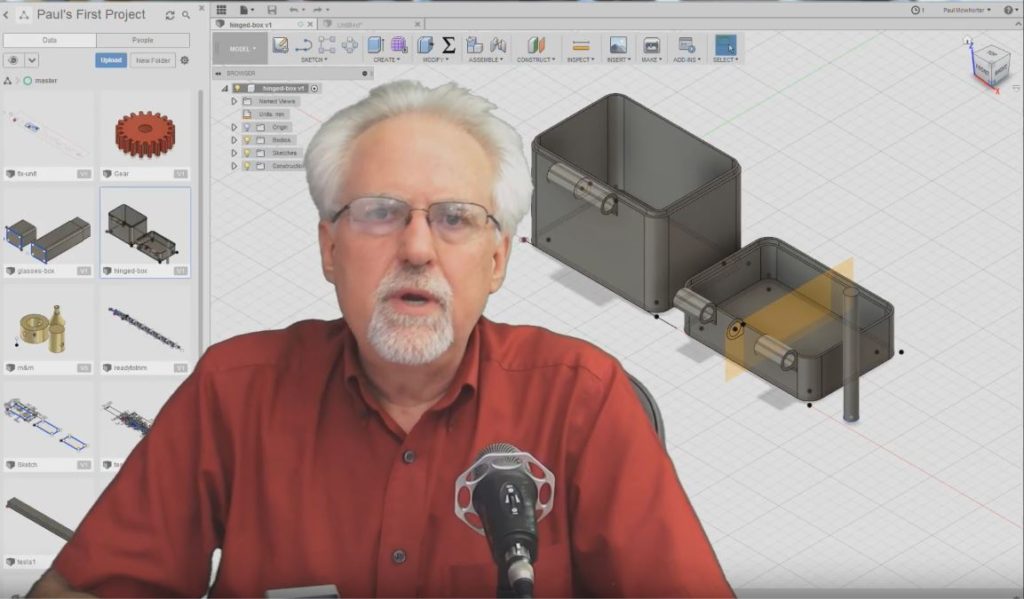
Fusion 360 LESSON 6: In this lesson we introduce the concept of offset and orthogonal planes. To do 3D design and modeling you must have reference planes to work from. This tutorial shows you how to effectively master the use of these construction planes in Fusion 360.
Fusion 360 LESSON 7: In this lesson we show you how to create threads that can be printed on a 3D printer. The example designs are for a nut and bolt. We then print these designs on both a Prusa and a Raise3D printer.
Fusion 360 LESSON 8: In this lesson we show you how to design knurls. Knurls are a rough surface useful for things like hand tightened nuts and bolts. We show you these techniques by designing and modeling a knurled nut and bolt. These are then printed on a 3D printer.
Fusion 360 LESSON 9: In this lesson we show you how to design and model Helical Gears. These gears can then be printed on a 3D printer. We create some simple intermeshing gears and then print them.
Fusion 360 LESSON 10: In this lesson we show you how to design and model Herringbone Gears. Herringbone gears have a number of advantages over Helical Gears. We create the gears and then print them on a 3D printer.
Fusion 360 LESSON 11: in this lesson we design a gear box with stacked helical gears. You can continue the process to create some very impressive gear ratios. These gears are printed on a 3D printer.
Fusion 360 LESSON 12: In this lesson we show you how to use the Fusion 360 timeline. This tool is very important, and allows you to easily and effectively edit or modify complex designs.
Fusion 360 LESSON 13: In this lesson we show you how to create “tools” that aid in the design of more complex 3D models. This is an important lesson so don’t miss it!