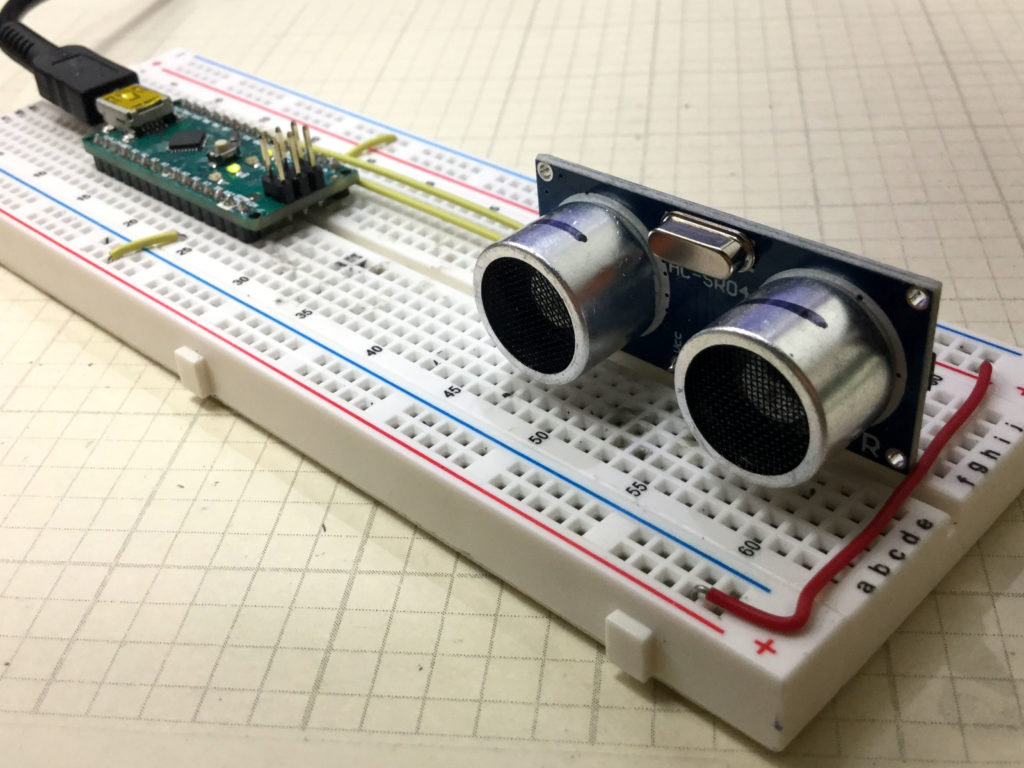
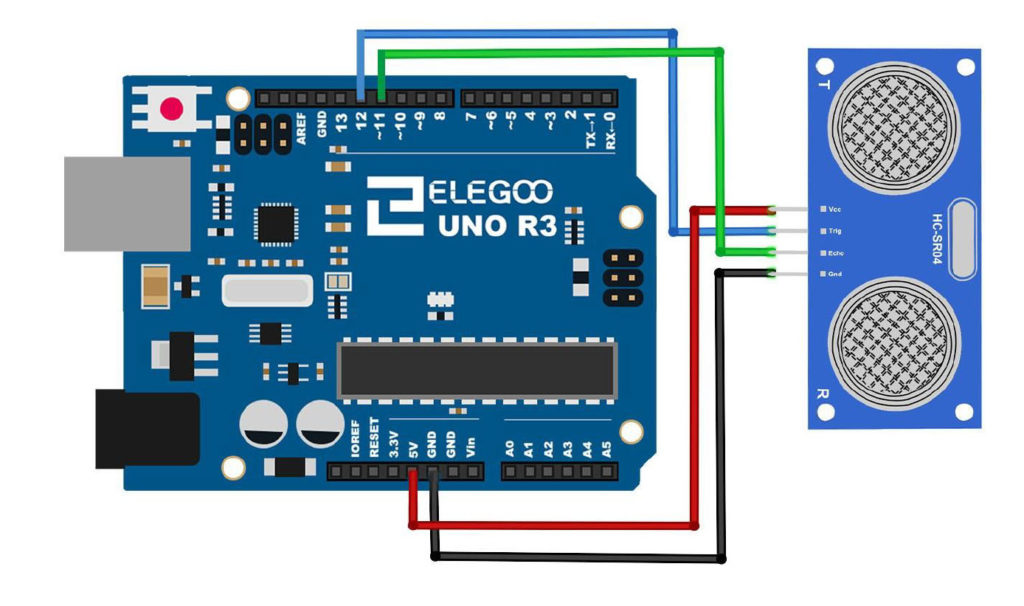
This lesson builds on the work done in Lessons 53 and 55. In this lesson we use the Ultrasonic Sensor to build a distance sensor. The HC-SR04 ultrasonic sensor can be programmed to send out a ping, and then measure the time it takes to hear the echo of the ping come back, after bouncing off a target. Knowing the speed of sound allows us to calculate distance to the sensor.
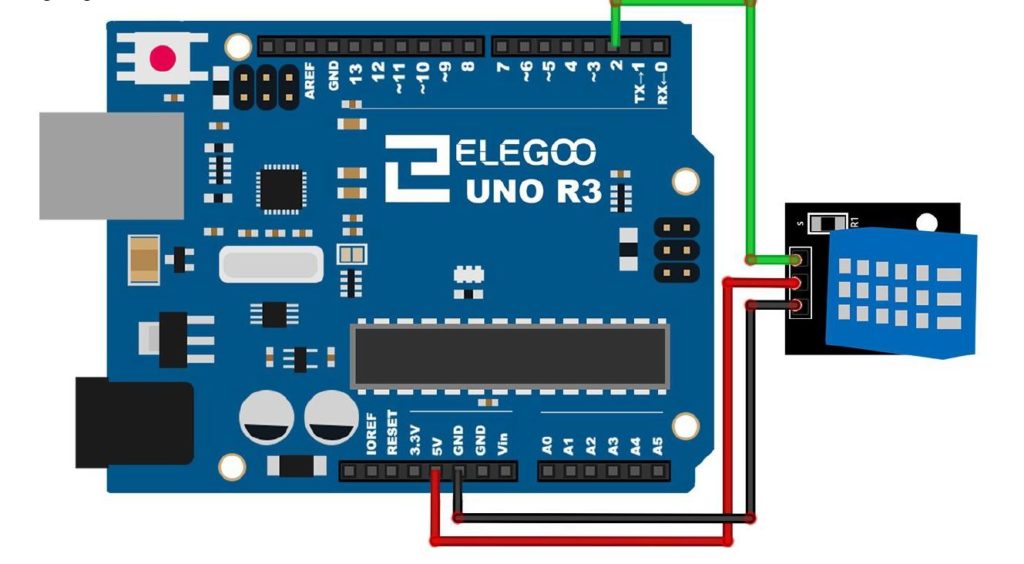
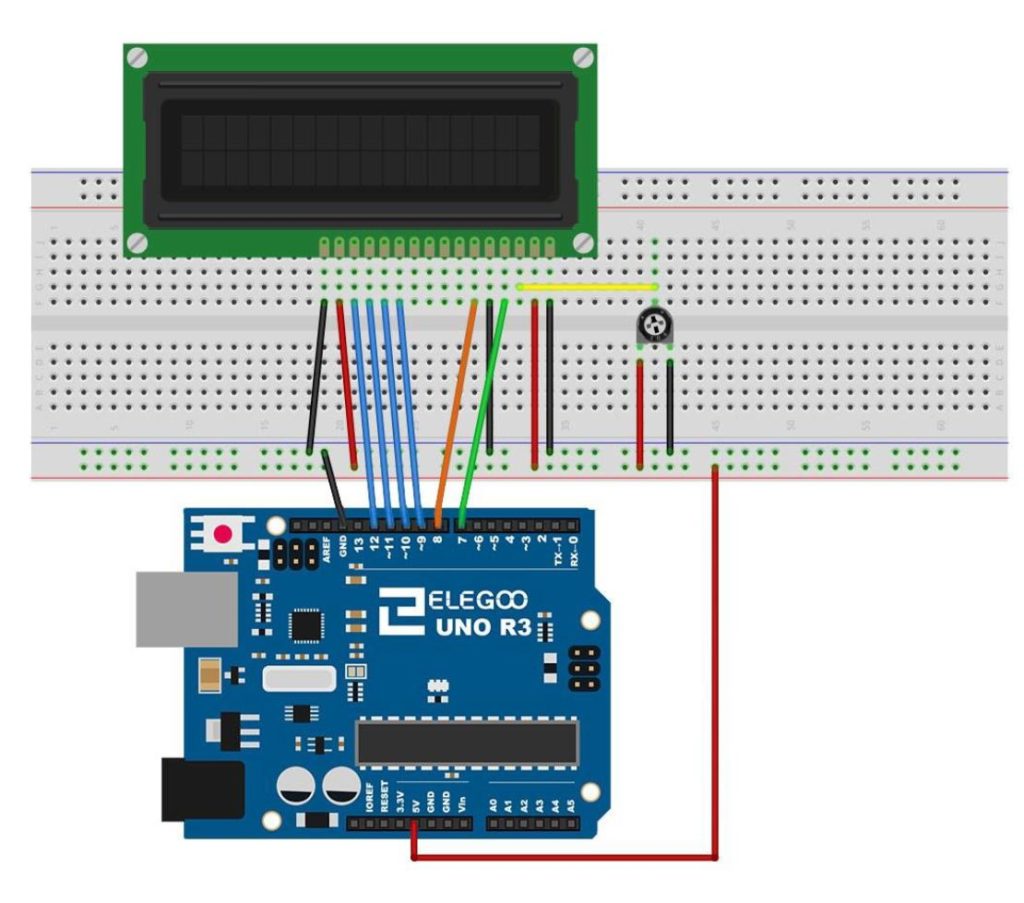
The circuit uses the following Schematic:
This is the code we develop in the video
1 2 3 4 5 6 7 8 9 10 11 12 13 14 15 16 17 18 19 20 21 22 23 24 25 26 27 28 29 30 | int trigPin=12; int echoPin=11; int pingTravelTime; float pingTravelDistance; float distanceToTarget; int dt=50; void setup() { // put your setup code here, to run once: pinMode(trigPin,OUTPUT); pinMode(echoPin,INPUT); Serial.begin(9600); } void loop() { // put your main code here, to run repeatedly: digitalWrite(trigPin,LOW); delayMicroseconds(10); digitalWrite(trigPin,HIGH); delayMicroseconds(10); digitalWrite(trigPin,LOW); pingTravelTime=pulseIn(echoPin,HIGH); delay(25); pingTravelDistance=(pingTravelTime*765.*5280.*12)/(3600.*1000000); distanceToTarget=pingTravelDistance/2; Serial.print("Distance to Target is: "); Serial.print(distanceToTarget); Serial.println(" in."); delay(dt); } |
The sensor is part of our Elegoo Kit , so if you get this kit, you will be using the same hardware we are using. This project builds on the work we did in Lesson 53.
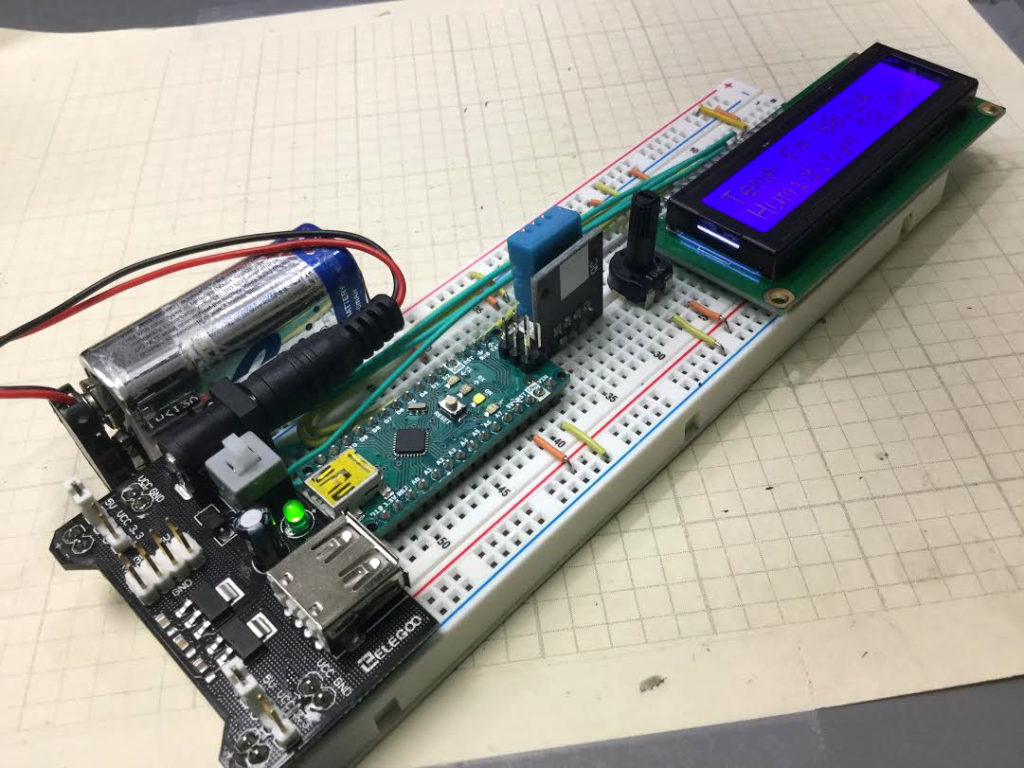
For this build we will be using an Arduino Nano, which allows the project to be built on a single breadboard. You can use the Arduino Uno if you do not have a Nano, and things will work out the same. The build neatness is also facilitated by using small straight jumper wires, which you can get HERE.