
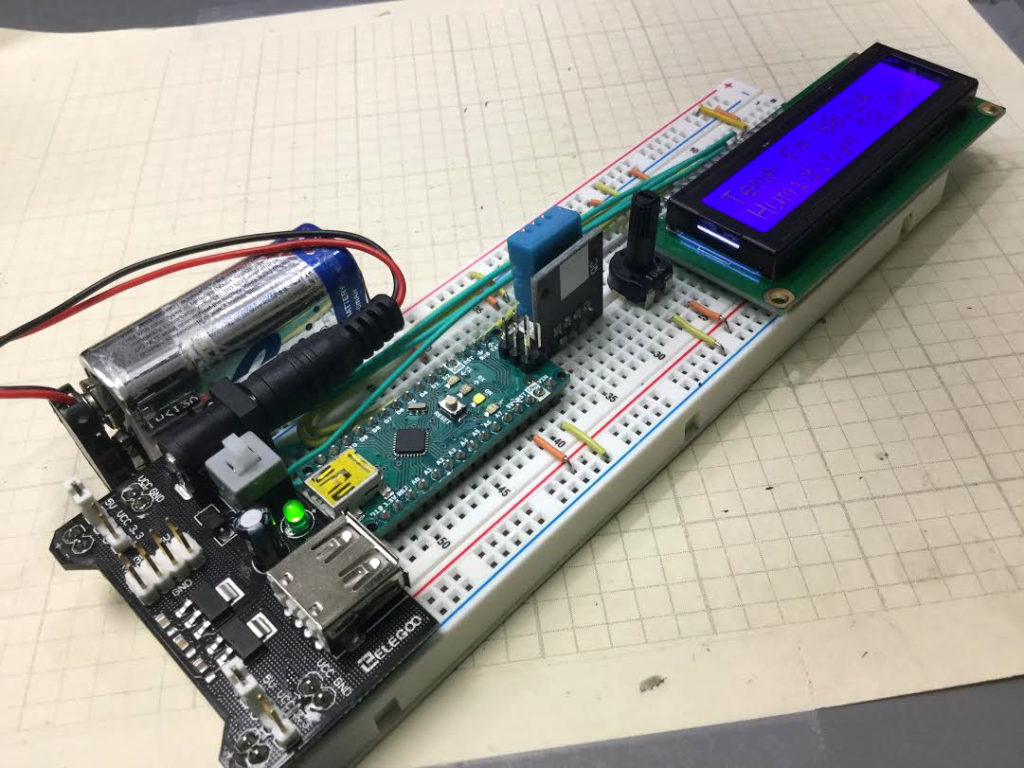
In this lesson we build a completely portable Temperature and Humidity Sensor using the DHT11 sensor. The project is powered by a 9 Volt battery, through the power supply board supplied in the Elegoo Kit. This project builds on the work we did in Lessons 50 and 51.
Also, notice we used an Arduino Nano, which allows the entire project to be build on a single breadboard. This allows a neater, smaller build, and one less likely to have problems from poor or loose connections. The build neatness is also facilitated by using small straight jumper wires, which you can get HERE.
In the configuration in this project, the regulated power supply is providing power to the Arduino through the 5 Volt pin. In such cases, you should not Also plug the USB cable into the arduino. When powering the Arduino with a regulated power supply, do not connect the USB. If you need to program the arduino, disconnect the external power supply first.
The video below gives a detailed step-by-step description of the project.
The code we developed is presented below:
|
1 2 3 4 5 6 7 8 9 10 11 12 13 14 15 16 17 18 19 20 21 22 23 24 25 26 27 28 29 30 31 32 33 34 35 36 37 38 39 40 41 42 43 44 45 46 47 48 49 50 51 52 |
#include "DHT.h" #define Type DHT11 #include <LiquidCrystal.h> int rs=7; int en=8; int d4=9; int d5=10; int d6=11; int d7=12; LiquidCrystal lcd(rs,en,d4,d5,d6,d7); int sensePin=2; DHT HT(sensePin,Type); float humidity; float tempC; float tempF; int setTime=500; int dt=1000; void setup() { // put your setup code here, to run once: Serial.begin(9600); HT.begin(); delay(setTime); lcd.begin(16,2); } void loop() { humidity=HT.readHumidity(); tempC=HT.readTemperature(); tempF=HT.readTemperature(true); lcd.setCursor(0,0); lcd.print("Temp F= "); lcd.print(tempF); lcd.setCursor(0,1); lcd.print("Humidity= "); lcd.print(humidity); lcd.print(" %"); delay(500); lcd.clear(); Serial.print("Humidity: "); Serial.print(humidity); Serial.print("% Temperature "); Serial.print(tempC); Serial.print(" C "); Serial.print(tempF); Serial.println(" F "); } |