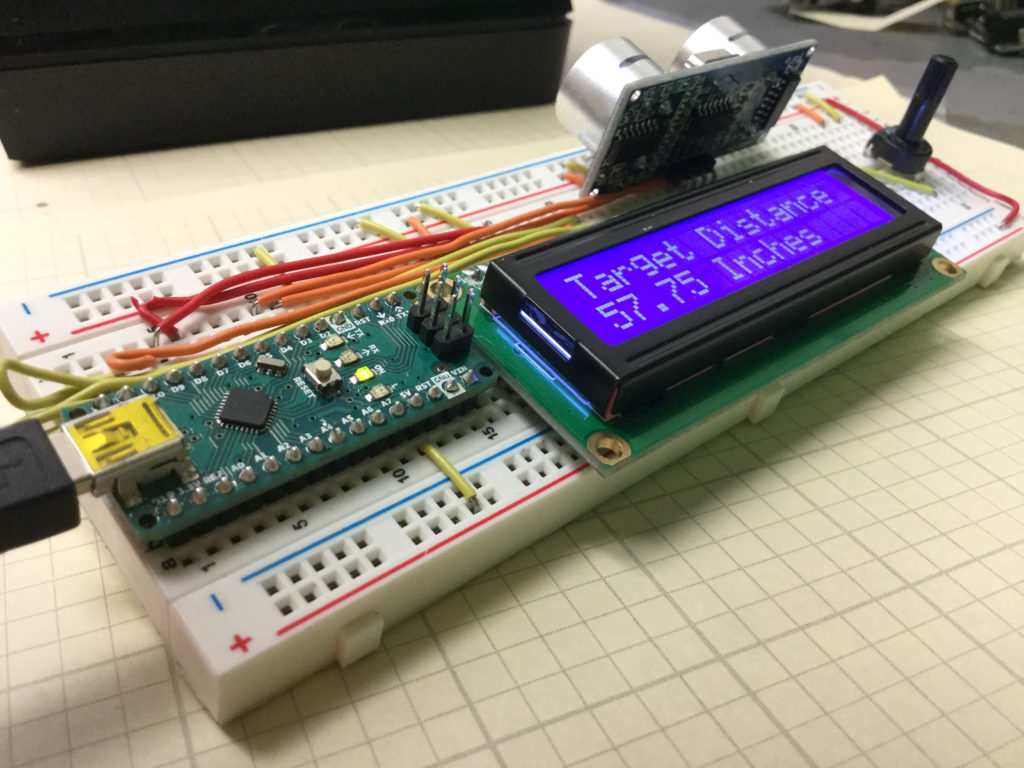
In this lesson we add a “GO” button to our portable distance measurement system. Note that from the work done in Lesson 59, we are only left with digital pin 13. The problem is that pin 13 is connected to the on-board diode, so trying to use pin 13 as a button pin will not work.
Never fear we can use one of the analog in pins. To use an analog in pin as the button pin, in the void setup, you need to declare the pin as an INPUT, and then digitalWrite the pin to HIGH. This will connect it to 5V through a pullup resistor. Now you just have to do a digital read to that pin. When button is untouched, you will read a “1”, and when you press the button, you will read a “0”.
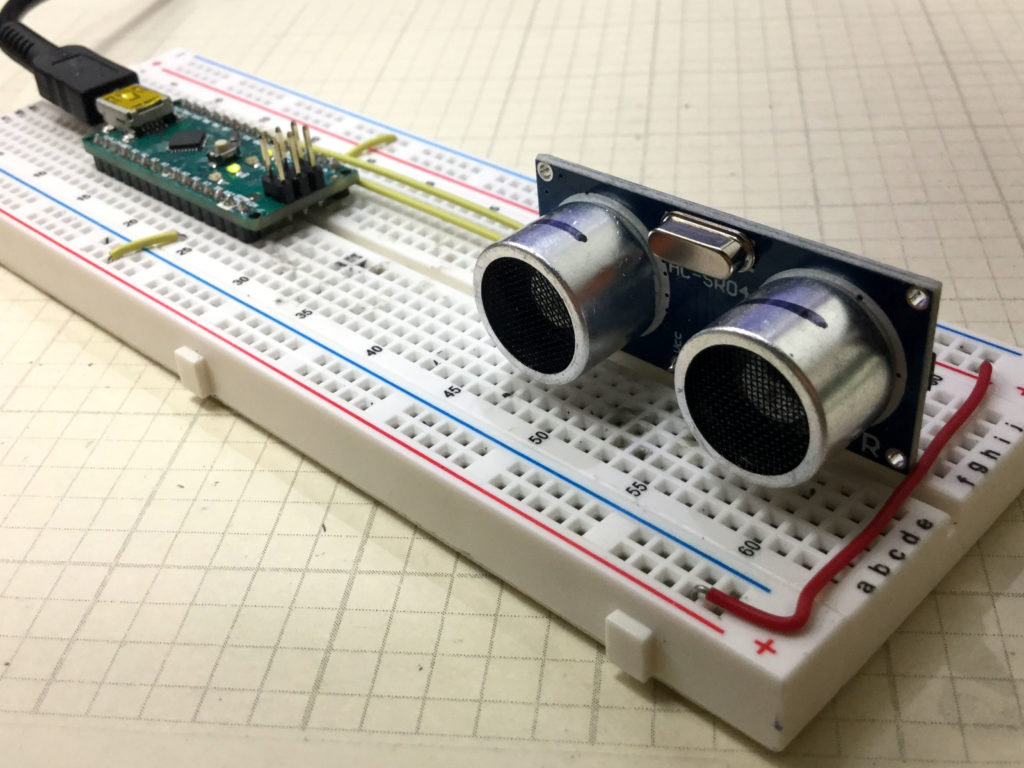
We are building this with parts from our Elegoo Kit , so if you get this kit, you will be using the same hardware we are using.
A challenge with this project is to keep the build neat and compact, which is much easier if you use an Arduino Nano, which allows the project to be built on a single breadboard. The build neatness is also facilitated by using small straight jumper wires, which you can get HERE.
This video takes you through the explanation step-by-step:
This is the code used in this project:
|
1 2 3 4 5 6 7 8 9 10 11 12 13 14 15 16 17 18 19 20 21 22 23 24 25 26 27 28 29 30 31 32 33 34 35 36 37 38 39 40 41 42 43 44 45 46 47 48 49 50 51 52 53 54 55 56 57 58 59 60 61 |
#include <LiquidCrystal.h> int rs=7; int en=8; int d4=9; int d5=10; int d6=11; int d7=12; int buttonPin=A0; int buttonVal; LiquidCrystal lcd(rs,en,d4,d5,d6,d7); int trigPin=2; int echoPin=3; int pingTravelTime; float pingTravelDistance; float distanceToTarget; int dt=5000; void setup() { // put your setup code here, to run once: lcd.begin(16,2); pinMode(trigPin,OUTPUT); pinMode(echoPin,INPUT); pinMode(buttonPin,INPUT); digitalWrite(buttonPin,HIGH); Serial.begin(9600); } void loop() { // put your main code here, to run repeatedly: lcd.setCursor(0,0); lcd.print("Place the Target"); lcd.setCursor(0,1); lcd.print("Press to Measure"); buttonVal=digitalRead(buttonPin); while (buttonVal==1){ buttonVal=digitalRead(buttonPin); } digitalWrite(trigPin,LOW); delayMicroseconds(10); digitalWrite(trigPin,HIGH); delayMicroseconds(10); digitalWrite(trigPin,LOW); pingTravelTime=pulseIn(echoPin,HIGH); delay(25); pingTravelDistance=(pingTravelTime*765.*5280.*12)/(3600.*1000000); distanceToTarget=pingTravelDistance/2; Serial.print("Distance to Target is: "); Serial.print(distanceToTarget); Serial.println(" in."); lcd.clear(); lcd.setCursor(0,0); lcd.print("Target Distance"); lcd.setCursor(0,1); lcd.print(distanceToTarget); lcd.print(" Inches"); delay(dt); } |