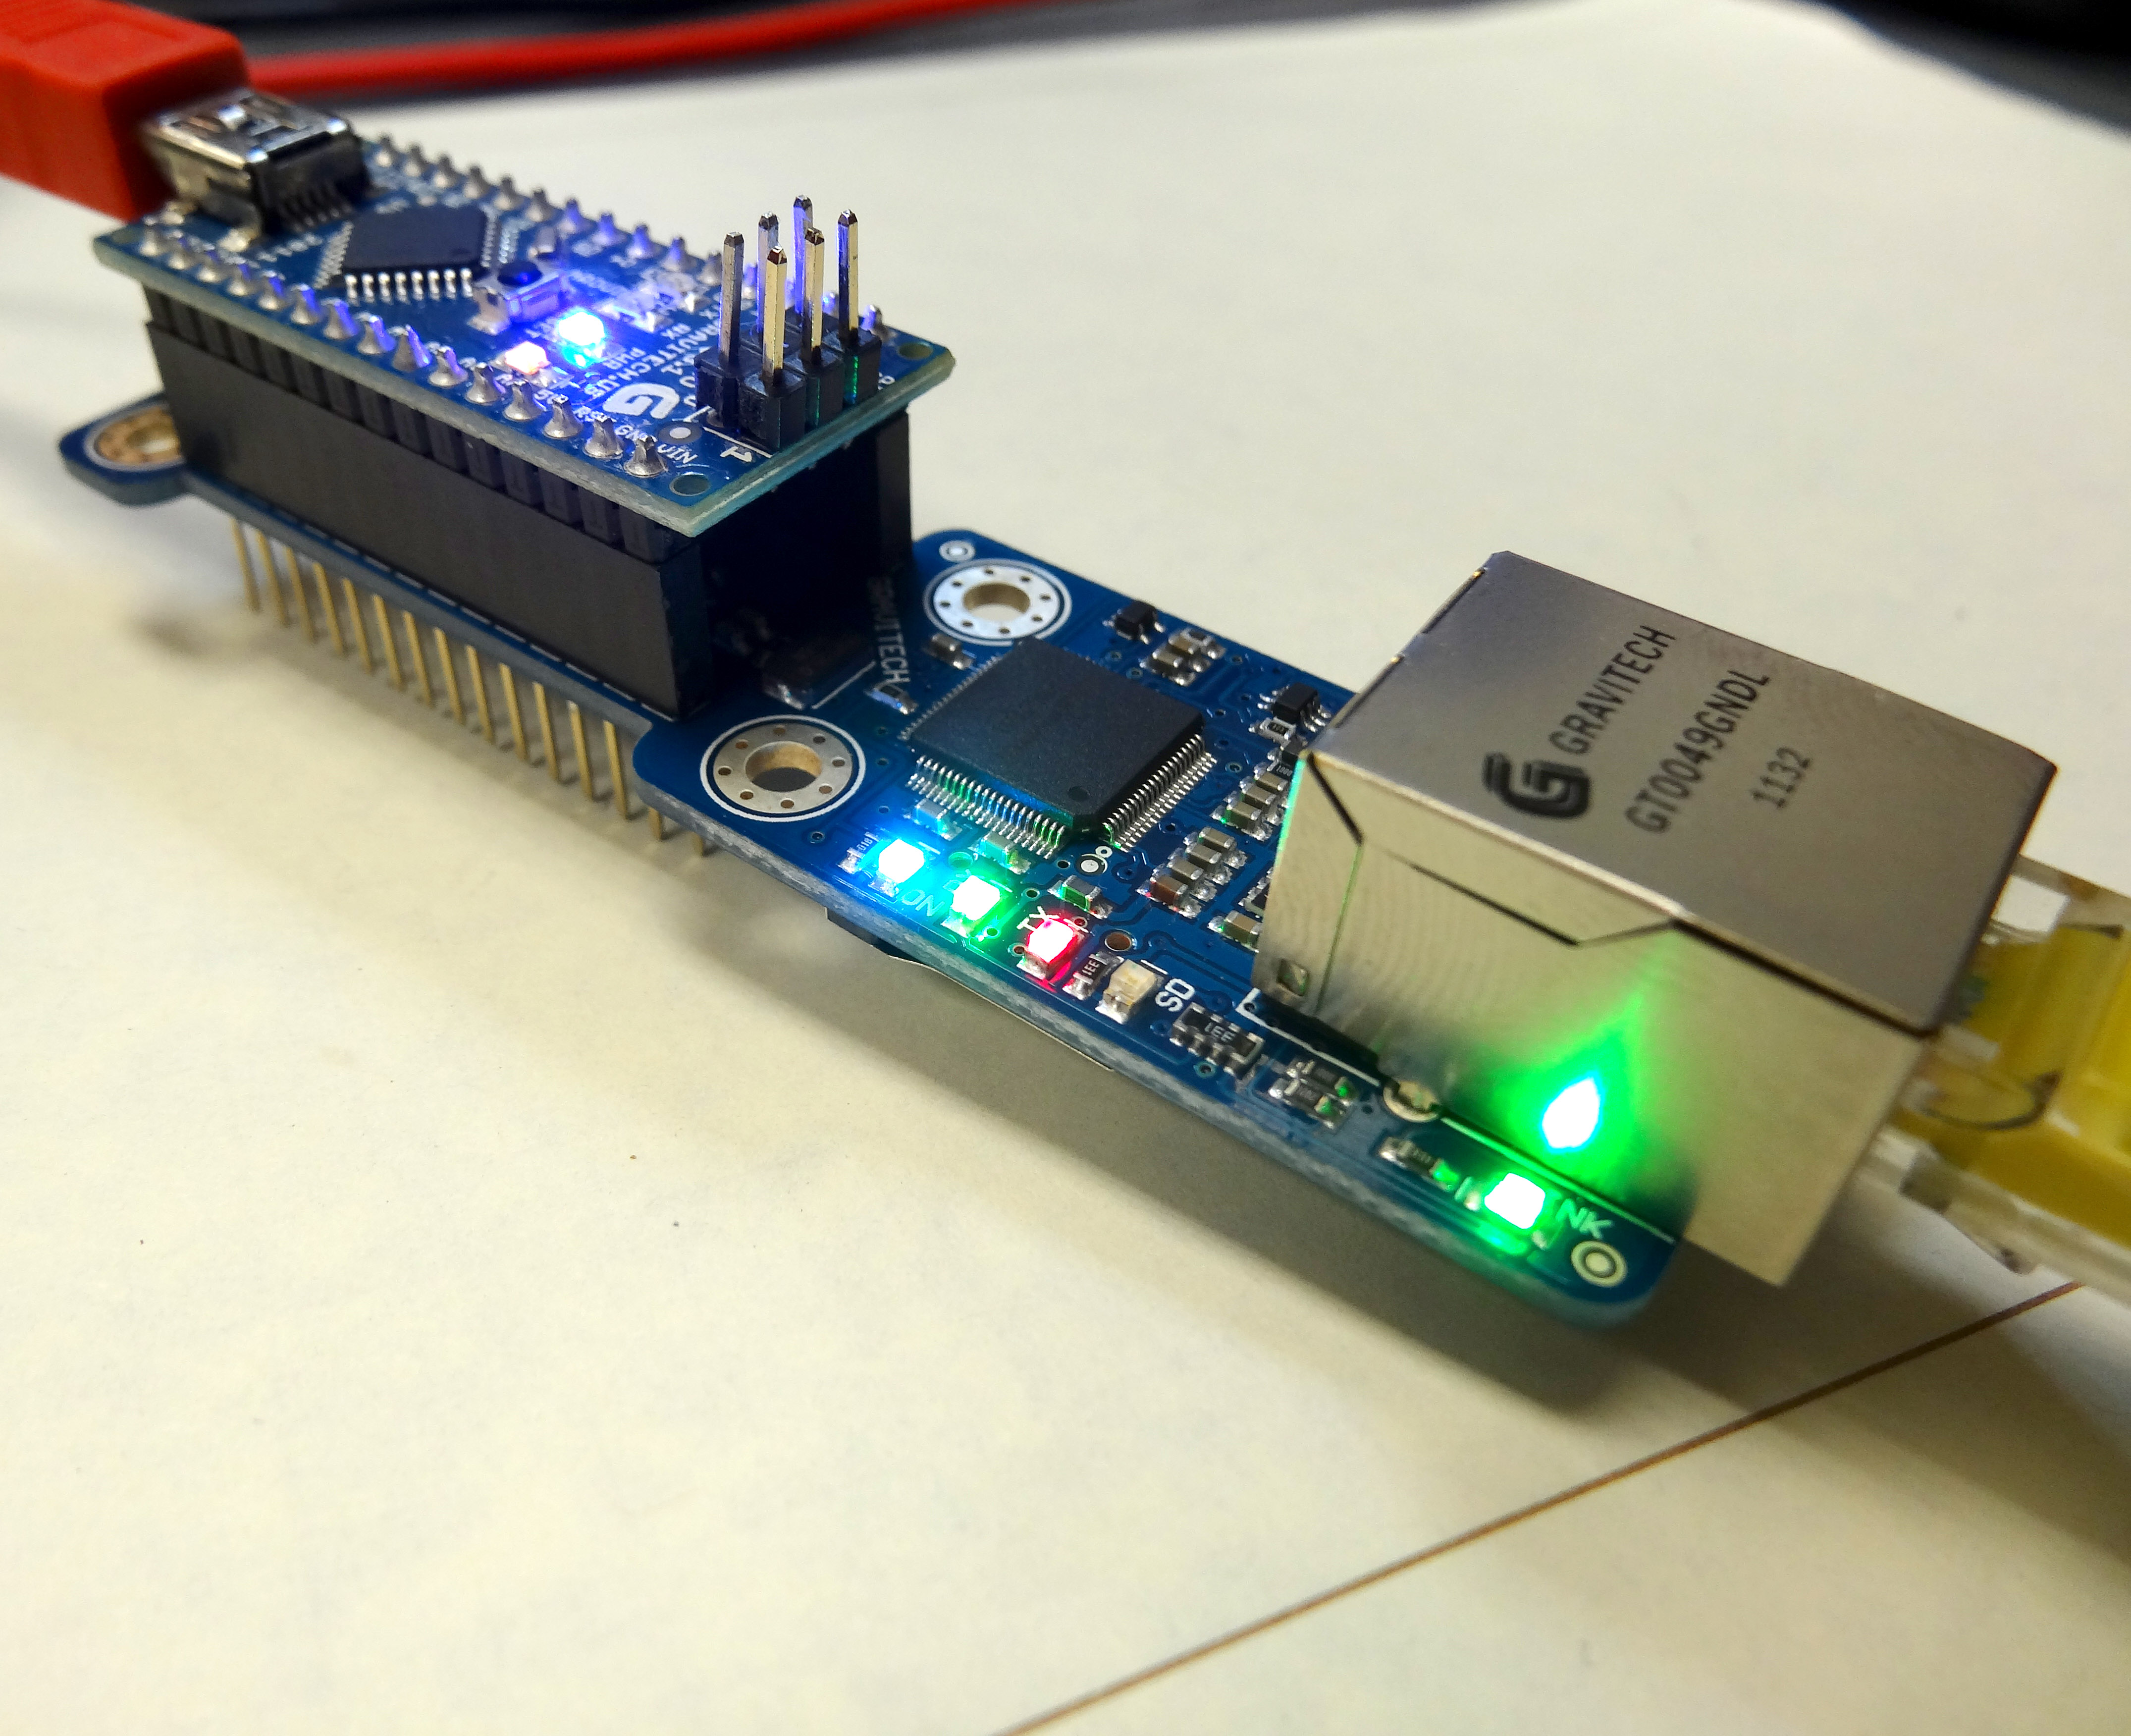
In the previous lessons we have seen that powerful analytic and graphic programs can be written that allow data taken from the arduino to be displayed on a PC via Python. We have shown how the arduino can be connected to a PC by either a serial cable or Xbee radios. To fully unleash the power of the arduino, it can be set up as a server, and connected to a network via Ethernet. In this lesson, we will show how to set the arduino up as a server which is controlled and queried by clients on PC’s on the same network. In order to complete this tutorial, you will need an Arduino Uno and an Ethernet shield. The Ethernet Shield is a relatively expensive component, but I suggest getting an authentic arduino made shield, as I have had poor results from the cheap knock offs. Understand that this lesson is intended for High School students to show them a simple technique for connecting the arduino to a network. It is not an exhaustive treatise on Ethernet communication. The goal is to provide a simple protocol which should allow you to get your arduino talking over Ethernet. It requires that you already know, or can figure out how to assign a mac address and IP address in your router. Some arduino Ethernet shields have a sticker with a mac address. If your Ethernet shield has a sticker with mac address, use that one. If it does not, you will need to come up with a unique mac address. If you are at school, the network administrator can help you get the router configured. I can not provide support in getting this to work on your network, as there are many variables. The techniques provided in this tutorial should work for most networks. This tutorial does not present the most efficient or elegant solution, but the goal is a simple protocol for people just getting started. The video below gives a step-by-step demonstration of setting up the arduino as a server, and Python on a PC as the client. It uses UDP protocol to transfer data packets.
In order to get the arduino to work over Ethernet, you must first assign an IP address to the arduino in your router. If you just plug the arduino with shield into the network, your router might assign an IP and report a mac address. If this is the case, you need to have the router assign those addresses permanently to the arduino. The bottom line is that the IP address and mac address you identify in the arduino code must match the IP address and mac address assigned in the router. I can not provide any additional help on that issue as there are so many different possible networks. You have to figure out how to do that.
Once you have the IP address and mac address sorted out, you will need to set up the arduino as a server. The video above explains how to do this, and results in this code. Note that your IP address and mac address must be set to a suitable configuration for your router and network. The numbers I use in this code would not work for your network.
This is the code developed in the video to set the arduino up:
|
1 2 3 4 5 6 7 8 9 10 11 12 13 14 15 16 17 18 19 20 21 22 23 24 25 26 27 28 29 30 31 32 33 34 35 36 37 38 39 40 41 42 43 44 45 46 47 48 49 50 |
#include <Ethernet.h> //Load Ethernet Library #include <EthernetUdp.h> //Load UDP Library #include <SPI.h> //Load the SPI Library byte mac[] = { 0xDE, 0xAD, 0xBE, 0xEF, 0xFE, 0xEE}; //Assign a mac address IPAddress ip(10, 1, 15, 243); //Assign my IP adress unsigned int localPort = 5000; //Assign a Port to talk over char packetBuffer[UDP_TX_PACKET_MAX_SIZE]; String datReq; //String for our data int packetSize; //Size of Packet EthernetUDP Udp; //Define UDP Object void setup() { Serial.begin(9600); //Turn on Serial Port Ethernet.begin(mac, ip); //Initialize Ethernet Udp.begin(localPort); //Initialize Udp delay(1500); //delay } void loop() { packetSize = Udp.parsePacket(); //Read theh packetSize if(packetSize>0){ //Check to see if a request is present Udp.read(packetBuffer, UDP_TX_PACKET_MAX_SIZE); //Reading the data request on the Udp String datReq(packetBuffer); //Convert packetBuffer array to string datReq if (datReq =="Red") { //See if Red was requested Udp.beginPacket(Udp.remoteIP(), Udp.remotePort()); //Initialize Packet send Udp.print("You are Asking for Red"); //Send string back to client Udp.endPacket(); //Packet has been sent } if (datReq =="Green") { //See if Green was requested Udp.beginPacket(Udp.remoteIP(), Udp.remotePort()); //Initialize Packet send Udp.print("You are Asking for Green"); //Send string back to client Udp.endPacket(); //Packet has been sent } if (datReq =="Blue") { //See if Red was requested Udp.beginPacket(Udp.remoteIP(), Udp.remotePort()); //Initialize Packet send Udp.print("You are Asking for Blue"); //Send string back to client Udp.endPacket(); //Packet has been sent } } memset(packetBuffer, 0, UDP_TX_PACKET_MAX_SIZE); } |
Once you have this code in your arduino, ping the IP address of the arduino from your PC cmd line. Make sure your PC can talk to the arduino by successfully pinging it. If you get an error while you are trying to ping the arduino, you will have to stop and get figured out what is wrong. There is no reason to proceed with the lesson until you can successfully ping the arduino.
Once you can ping the arduino, you are ready to set up a client in Python. The code below is what we developed in the video. You will need to watch the video in order to understand the code. Also note, that the IP address in the code below is the IP address of the Arduino, NOT the PC. You should set this to whatever IP address is of YOUR arduino.
|
1 2 3 4 5 6 7 8 9 10 11 12 13 14 15 16 17 18 19 20 21 22 23 24 25 26 27 28 29 30 31 32 33 34 35 36 37 |
from socket import * import time address = ( '10.1.15.243', 5000) #Defind who you are talking to (must match arduino IP and port) client_socket = socket(AF_INET, SOCK_DGRAM) #Set Up the Socket client_socket.settimeout(1) #only wait 1 second for a resonse while(1): #Main Loop data = "Blue" #Set data to Blue Command client_socket.sendto(data, address) #send command to arduino try: rec_data, addr = client_socket.recvfrom(2048) #Read response from arduino print rec_data #Print the response from Arduino except: pass time.sleep(2) #delay before sending next command data = "Red" #Set data to Blue Command client_socket.sendto(data, address) #send command to arduino try: rec_data, addr = client_socket.recvfrom(2048) #Read response from arduino print rec_data #Print the response from Arduino except: pass time.sleep(2) #delay before sending next command data = "Green" #Set data to Blue Command client_socket.sendto(data, address) #send command to arduino try: rec_data, addr = client_socket.recvfrom(2048) #Read response from arduino print rec_data #Print the response from Arduino except: pass time.sleep(2) #delay before sending next command |
Again, this is a bit of a tricky thing to set up, but if you get the PC successfully pinging the arduino, everything else should be straightforward.