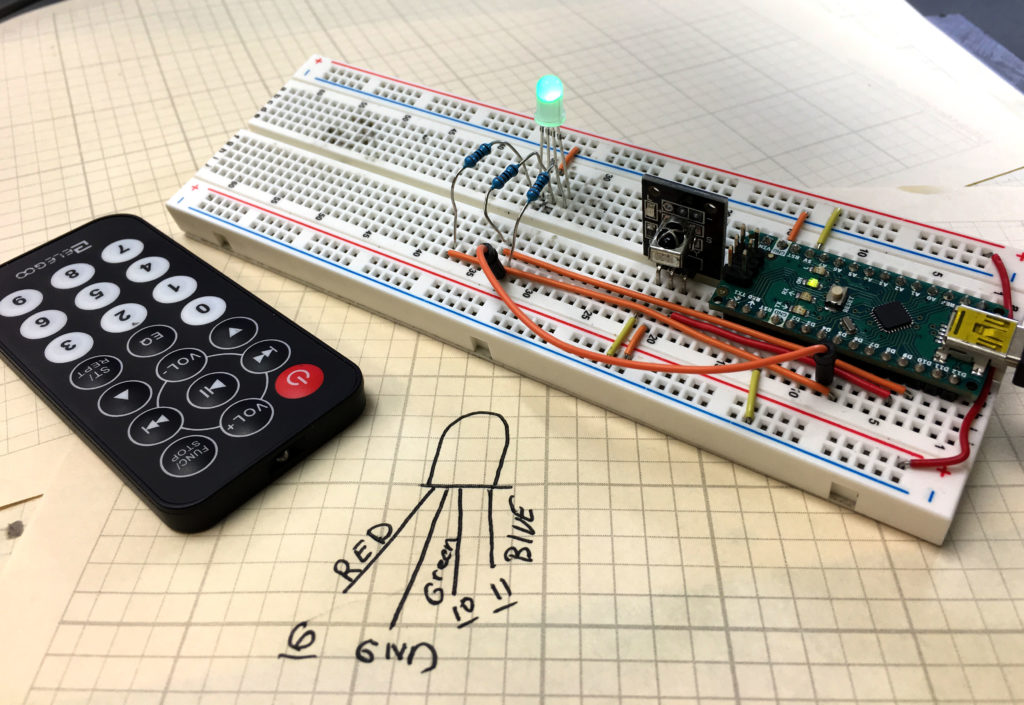
In this video lesson we explore a project where control access to a servo is activated by an RDID tag. In order to position the servo with the pushbuttons, the system must be unlocked by a RDID tag. When the system is locked, the LED is red, when the system is unlocked, the LED is green. When using the breadvolt, or any battery power supply on a breadboard project, do not turn the power supply on while the Raspberry Pi Pico is connected to USB, as you could generate voltage conflicts. It is an either or. If the USB is connected, the power supply should be OFF. Or if you are going to connect the USB, first turn off the power supply.

For your convenience, this is the code we developed below.
|
1 2 3 4 5 6 7 8 9 10 11 12 13 14 15 16 17 18 19 20 21 22 23 24 25 26 27 28 29 30 31 32 33 34 35 36 37 38 39 40 41 42 43 44 45 46 47 48 49 50 51 52 53 54 55 56 57 58 59 60 61 62 63 64 65 66 67 68 69 70 71 72 73 74 75 76 77 78 79 80 81 82 83 84 85 86 87 88 89 90 91 92 93 94 95 96 97 98 99 100 101 102 103 104 105 106 107 108 109 |
from mfrc522 import SimpleMFRC522 import time import ujson from machine import Pin, PWM unlockTime = 5 decPin = 20 incPin = 21 servoPin=0 decBut=Pin(decPin,Pin.IN,Pin.PULL_UP) incBut=Pin(incPin,Pin.IN,Pin.PULL_UP) redPin=15 greenPin=14 bluePin=13 redLED=Pin(redPin,Pin.OUT) greenLED=Pin(greenPin,Pin.OUT) blueLED=Pin(bluePin,Pin.OUT) redLED.on() greenLED.off() blueLED.off() incButState=1 incButStateOld=1 decButState=1 decButStateOld=1 myServo=PWM(Pin(servoPin)) myServo.freq(50) servoAngle=0 reader=SimpleMFRC522(spi_id=0,sck=18,miso=16,mosi=19,cs=17,rst=9) try: f=open("/dict.json","r") servoDict=ujson.load(f) f.close() except: myDict={} f=open('dict.json','w') ujson.dump(myDict,f) f.close() def readRFID(): global cardID,servoAngle print() print("System LOCKED") print("Reading . . . Please Place the Card") cardID,readText = reader.read() print() print("ID: ",cardID) try: f=open('/dict.json','r') servoDict = ujson.load(f) f.close() servoAngle=servoDict[cardID] print(servoAngle) moveServo() except: f=open('/dict.json','r') myDict=ujson.load(f) f.close() myDict[cardID]=servoAngle f = open('/dict.json','w') ujson.dump(myDict,f) f.close() moveServo() def moveServo(): writeVal = 6553/180*servoAngle + 1638 myServo.duty_u16(int(writeVal)) f=open('/dict.json','r') myDict =ujson.load(f) f.close() myDict[cardID]=servoAngle f=open('/dict.json','w') ujson.dump(myDict, f) f.close() while True: redLED.on() greenLED.off() blueLED.off() readRFID() print("System Unlocked by Card: ",cardID) unlockStart= time.time() while time.time()-unlockStart<unlockTime: redLED.off() greenLED.on() incButState=incBut.value() decButState=decBut.value() if incButState==0 and incButStateOld==1: servoAngle=servoAngle + 10 if servoAngle>180: servoAngle=180 if servoAngle<0: servoAngle=0 moveServo() unlockStart=time.time() time.sleep(.2) if decButState==0 and decButStateOld==1: servoAngle=servoAngle - 10 if servoAngle>180: servoAngle=180 if servoAngle<0: servoAngle=0 moveServo() unlockStart=time.time() time.sleep(.2) incButStateOld=incButState decButStateOld=decButState |