
Welcome back, everyone! In our last lesson, we learned how to use matrix slicing to hardcode a Region of Interest (ROI) into our frames. That was a great static approach, but today we are taking interactivity to a whole new level.
In this lesson, you are going to learn how to catch Mouse Events inside your OpenCV windows. Instead of guess-and-checking coordinates in your code, you will be able to click anywhere on your live video stream to instantly grab the precise (x, y) pixel coordinates and read the exact color value of the pixel right under your mouse pointer. This is the foundational mechanic you need to build interactive, point-and-click AI applications.
The Core Concept: Mouse Callbacks and Global Frames
To listen for mouse clicks or movement, OpenCV uses what is called a Callback Function. You tell OpenCV: “Hey, keep an eye on this specific window. If the user does anything with the mouse inside it, instantly jump over to my custom function and tell me what happened.”
We set this up using:
cv2.setMouseCallback(‘Camera’, mouseAction)
The [y, x] Matrix Inversion Trap
There is a massive mathematical trap that catches almost every beginner when they start mapping mouse clicks to image matrices:
-
OpenCV Mouse Coordinates: When you move your mouse, OpenCV tracks position using standard Cartesian geometry: (x, y), where x is the column (horizontal distance from the left) and y is the row (vertical distance from the top).
-
NumPy Array Coordinates: When you plug those numbers into your image array to inspect a pixel, NumPy expects matrix indexing: [row, column].
Because rows correspond to the height (y) and columns correspond to the width (x), you must always invert the coordinates when accessing the frame array:
If you try to pass frame[x, y], your program will either crash with an “index out of bounds” error or return data from the completely wrong part of the image!
The Python Code Developed in This Lesson
Here is the complete, streamlined script we built during today’s tutorial. Copy this code into your workspace on your Raspberry Pi 5, fire it up, and watch your terminal output as you click around the video window.
We first developed this program as a simple example of processing mouse clicks, and print the detected event:
|
1 2 3 4 5 6 7 8 9 10 11 12 13 14 15 16 17 18 19 20 21 22 23 24 25 26 27 28 29 30 31 32 33 34 35 36 37 38 39 40 41 42 43 44 |
import cv2 import time from picamera2 import Picamera2 piCam = Picamera2() W=1280 H=720 tStart = time.time() fps = 0 RES = (W,H) piCam.preview_configuration.main.size = RES piCam.preview_configuration.main.format = "RGB888" piCam.preview_configuration.controls.FrameRate=60 piCam.preview_configuration.align() piCam.configure("preview") piCam.start() textLowerLeft = (int(W*.01),int(H*.05)) fontFace = cv2.FONT_HERSHEY_SIMPLEX fontThickness = int(W/425) fontScale = H*.0015 fontColor = (0,0,255) frame = None def mouseAction(event, x, y, flags, param): global frame if frame is not None: print("Event: ",event, (x,y), frame[y,x]) cv2.namedWindow('Camera') cv2.setMouseCallback('Camera',mouseAction) while True: deltaT = time.time() - tStart tStart=time.time() fps = fps*.95 + (1/deltaT)*.05 frame= piCam.capture_array() frame=cv2.flip(frame,-1) myText = "FPS: "+str(round(fps,1)) cv2.putText(frame,myText,textLowerLeft,fontFace,fontScale,fontColor,fontThickness) cv2.imshow("Camera", frame) cv2.moveWindow("Camera",0,60) if cv2.waitKey(1)==ord('q'): break cv2.destroyAllWindows() print('Program Terminated') |
In order to make the program more useful, we developed this code that monitors the position of the mouse cursor, and reports the color of the pixel the mouse points at. The values are printed as labels on the openCV frame:
|
1 2 3 4 5 6 7 8 9 10 11 12 13 14 15 16 17 18 19 20 21 22 23 24 25 26 27 28 29 30 31 32 33 34 35 36 37 38 39 40 41 42 43 44 45 46 47 48 49 50 51 52 53 54 55 56 57 58 59 |
import cv2 import time from picamera2 import Picamera2 piCam = Picamera2() W=1280 H=720 tStart = time.time() fps = 0 RES = (W,H) piCam.preview_configuration.main.size = RES piCam.preview_configuration.main.format = "RGB888" piCam.preview_configuration.controls.FrameRate=60 piCam.preview_configuration.align() piCam.configure("preview") piCam.start() textLowerLeft = (int(W*.01),int(H*.06)) fontFace = cv2.FONT_HERSHEY_SIMPLEX fontThickness = int(W/425) fontScale = H*.0015 fontColor = (0,0,255) xPos = 0 textLowerLeft1 = (int(W*.01),int(H*.06)*2) textLowerLeft2 = (int(W*.01),int(H*.06)*3) yPos = 0 valR = 0 valG = 0 valB = 0 frame = None def mouseAction(event, x, y, flags, param): global frame, xPos, yPos, valR, valG, valB if event == 0: xPos = x yPos = y if frame is not None: valB, valG, valR = frame[y,x] cv2.namedWindow('Camera') cv2.setMouseCallback('Camera',mouseAction) while True: deltaT = time.time() - tStart tStart=time.time() fps = fps*.95 + (1/deltaT)*.05 frame= piCam.capture_array() frame=cv2.flip(frame,-1) myText = "FPS: "+str(round(fps,1)) cv2.putText(frame,myText,textLowerLeft,fontFace,fontScale,fontColor,fontThickness) text1 = "Mouse Pos: "+str((xPos,yPos)) text2 = "Pixel Color: "+str((valR,valG,valB)) cv2.putText(frame,text1,textLowerLeft1,fontFace,fontScale,fontColor,fontThickness) cv2.putText(frame,text2,textLowerLeft2,fontFace,fontScale,fontColor,fontThickness) cv2.imshow("Camera", frame) cv2.moveWindow("Camera",0,60) if cv2.waitKey(1)==ord('q'): break cv2.destroyAllWindows() print('Program Terminated') |
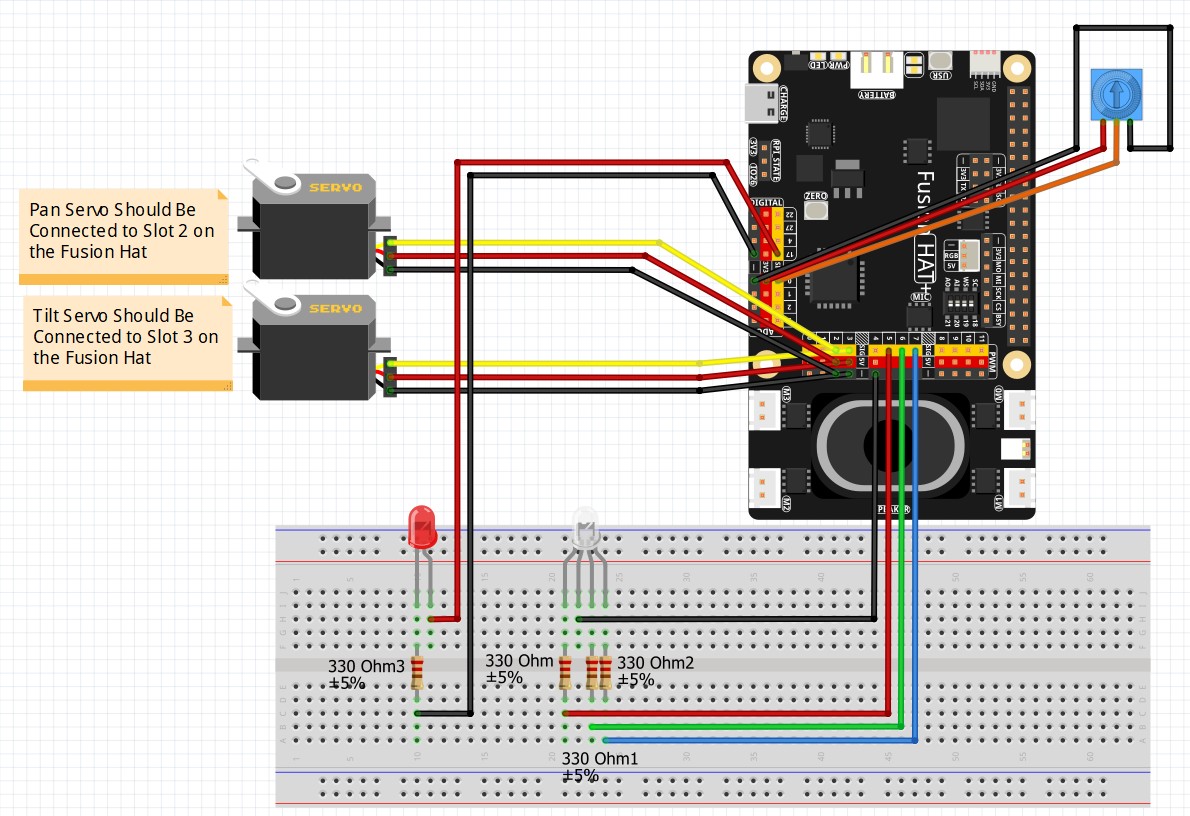
We can now take the project to the next level by setting the LED color to the color pointed at by the cursor in the openCV window. We will be using our standard circuit we have used in the earlier lessons.
This is the code we developed to set the LED color based on the pixel position of the cursor in the openCV window.
|
1 2 3 4 5 6 7 8 9 10 11 12 13 14 15 16 17 18 19 20 21 22 23 24 25 26 27 28 29 30 31 32 33 34 35 36 37 38 39 40 41 42 43 44 45 46 47 48 49 50 51 52 53 54 55 56 57 58 59 60 61 62 63 64 65 66 67 68 69 70 71 72 73 74 |
import cv2 import time from picamera2 import Picamera2 from fusion_hat.pwm import PWM piCam = Picamera2() W=1280 H=720 tStart = time.time() fps = 0 redPin = 5 greenPin = 6 bluePin = 7 redLED = PWM(redPin) greenLED = PWM(greenPin) blueLED = PWM(bluePin) RES = (W,H) piCam.preview_configuration.main.size = RES piCam.preview_configuration.main.format = "RGB888" piCam.preview_configuration.controls.FrameRate=60 piCam.preview_configuration.align() piCam.configure("preview") piCam.start() textLowerLeft = (int(W*.01),int(H*.06)) fontFace = cv2.FONT_HERSHEY_SIMPLEX fontThickness = int(W/425) fontScale = H*.0015 fontColor = (0,0,255) xPos = 0 textLowerLeft1 = (int(W*.01),int(H*.06)*2) textLowerLeft2 = (int(W*.01),int(H*.06)*3) yPos = 0 valR = 0 valG = 0 valB = 0 frame = None def mouseAction(event, x, y, flags, param): global frame, xPos, yPos, valR, valG, valB if event == 0: xPos = x yPos = y if frame is not None: valB, valG, valR = frame[y,x] redLED.pulse_width_percent(int(valR/255*100)) greenLED.pulse_width_percent(int(valG/255*100/2)) blueLED.pulse_width_percent(int(valB/255*100/4)) cv2.namedWindow('Camera') cv2.setMouseCallback('Camera',mouseAction) while True: deltaT = time.time() - tStart tStart=time.time() fps = fps*.95 + (1/deltaT)*.05 frame= piCam.capture_array() frame=cv2.flip(frame,-1) myText = "FPS: "+str(round(fps,1)) cv2.putText(frame,myText,textLowerLeft,fontFace,fontScale,fontColor,fontThickness) text1 = "Mouse Pos: "+str((xPos,yPos)) text2 = "Pixel Color: "+str((valR,valG,valB)) cv2.putText(frame,text1,textLowerLeft1,fontFace,fontScale,fontColor,fontThickness) cv2.putText(frame,text2,textLowerLeft2,fontFace,fontScale,fontColor,fontThickness) cv2.imshow("Camera", frame) cv2.moveWindow("Camera",0,60) if cv2.waitKey(1)==ord('q'): break cv2.destroyAllWindows() redLED.pulse_width_percent(0) greenLED.pulse_width_percent(0) blueLED.pulse_width_percent(0) print('Program Terminated') |
Homework Assignment
Alright, it’s time to put this knowledge to work. Your homework assignment is to turn this simple reporting tool into an interactive, dynamic ROI selector. The homework is to first create a text display under the FPS on the frame that show RGB value at the pixel position the mouse is pointing at, and the pixel location.
Your homework assignment is to turn this simple reporting tool into an interactive, dynamic ROI selector.
-
Start with your clean 1280×720 live camera stream.
-
Modify your
mouseActioncallback function to look for specific mouse clicks. -
The Target Mechanic: When you Left-Click on the video window, store those specific coordinates as your upper-left corner. When you release the click, store those coordinates as your lower-right corner. As you are selecting, draw a live box outline over your ROI
-
Using those two dynamic coordinate sets, use matrix slicing to pull a clean Region of Interest (ROI) out of the frame and instantly display it in a completely separate, standalone window called “Target ROI”.
-
Safety Requirement: Make sure your code can handle clicks in any order without crashing (e.g., if a user right-clicks higher or further left than their left-click, write the conditional logic to sort the indices properly before slicing).
Get your black coffee ready, write your logic step-by-step from scratch, and do not copy code you can’t explain. Post your homework solution video on YouTube and drop a link in the comments section below so I can see who is running with the big dogs!