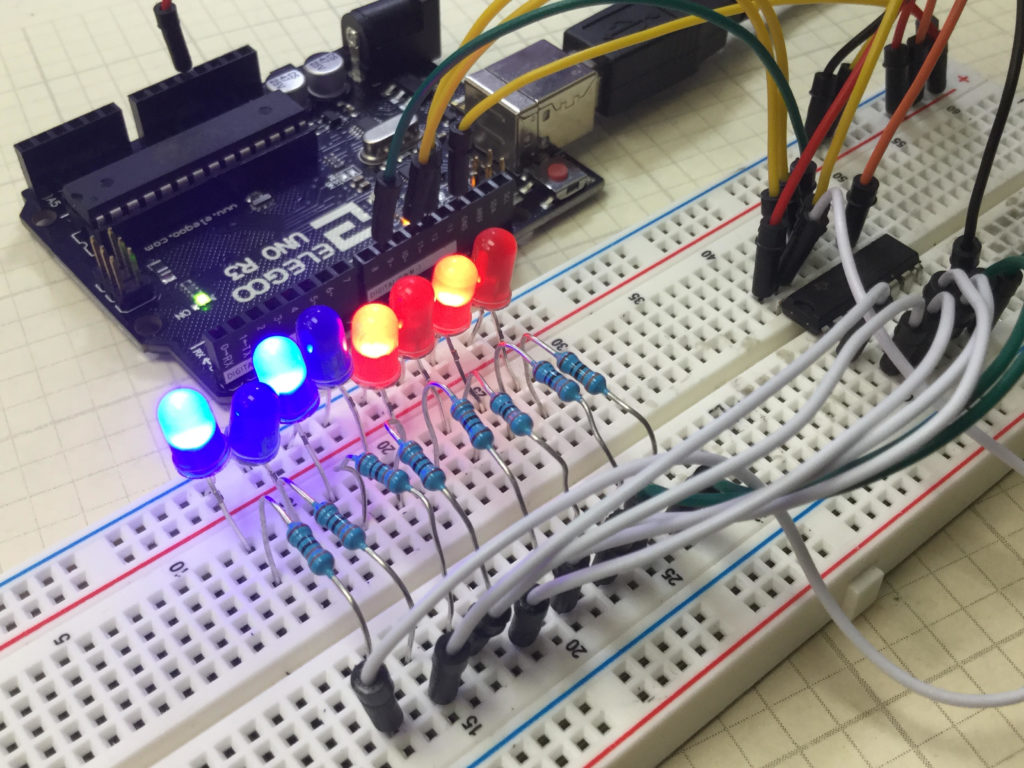
In this lesson we show you how to expand the number of LEDs or other devices you can control with the Arduino by incorporating a Serial to Parallel converter. The chip we will be using is the 74HCH595. When connected to just a few pins of the Arduino, data can be sent serially to the chip, and then LEDs can be connected to the output pins of that chip. Hence, you can control 8 LEDs using only 3 digital pins on the Arduino.
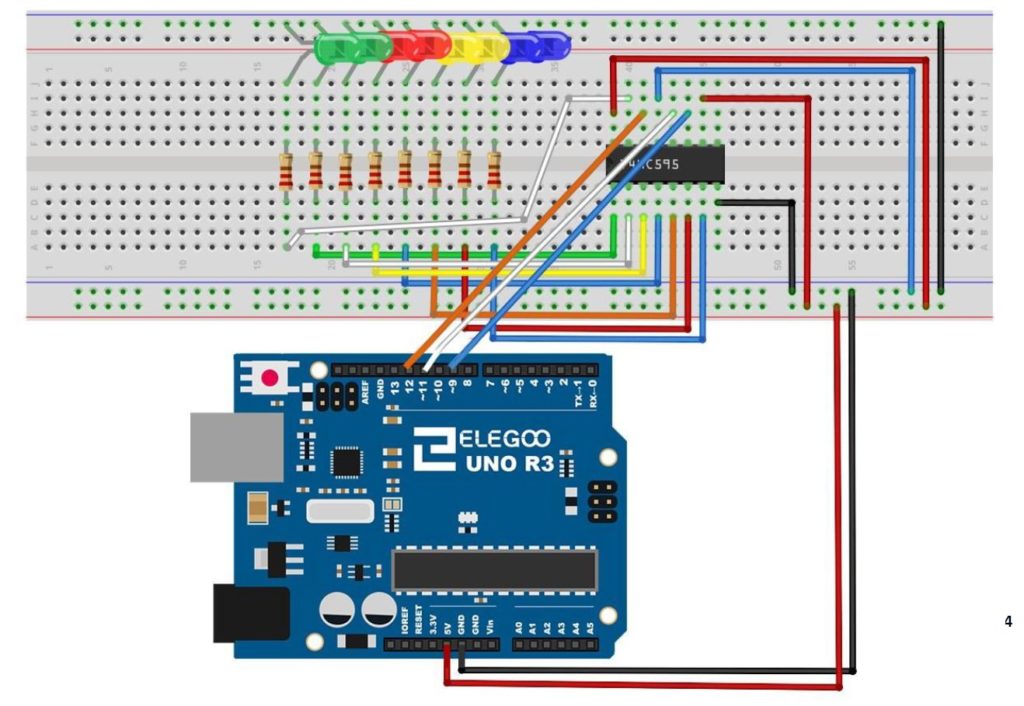
This is somewhat of a tedious project, because the circuit has lots of wires, and it must be connected perfectly. We use the following schematic in this project:
The video takes you step by step through the entire build and programming.
The code we used in this build is included below:
1 2 3 4 5 6 7 8 9 10 11 12 13 14 15 16 17 18 19 20 21 22 23 24 25 26 27 | int latchPin=11; int clockPin=9; int dataPin=12; int dt=250; byte LED1s=0b10101010; byte LED2s=0b01010101; void setup() { // put your setup code here, to run once: Serial.begin(9600); pinMode(latchPin,OUTPUT); pinMode(dataPin,OUTPUT); pinMode(clockPin,OUTPUT); } void loop() { // put your main code here, to run repeatedly: digitalWrite(latchPin,LOW); shiftOut(dataPin,clockPin,LSBFIRST,LED1s); digitalWrite(latchPin,HIGH); delay(dt); digitalWrite(latchPin,LOW); shiftOut(dataPin,clockPin,LSBFIRST,LED2s); digitalWrite(latchPin,HIGH); delay(dt); } |
An official Arduino Uno R3 is available HERE. In this new series of lessons, I will be using the sensor and other components found in this KIT.