In this lesson we explore approximating the roll and pitch of our sensor using only the gyros. The advantage of gyros is that they are not susceptible to vibration as much as the acceleromters. In the video we show you how you can simply approximate roll and pitch from the data coming from the gyroscopes. Note that while the gyros do not have the noise problem seen in the accelerometers, we now have a new problem that the gyros are susceptible to long term drift. As you play with these devices what you end up seeing is you will need to combine the data from the accelerometers and the gyros in a clever way to take advantage of the long term stability of the accelerometers and the noise immunity of they gyros. In effect, you will want to apply a high pass filter to the gyro data, and a low pass filter to the acceleromters.
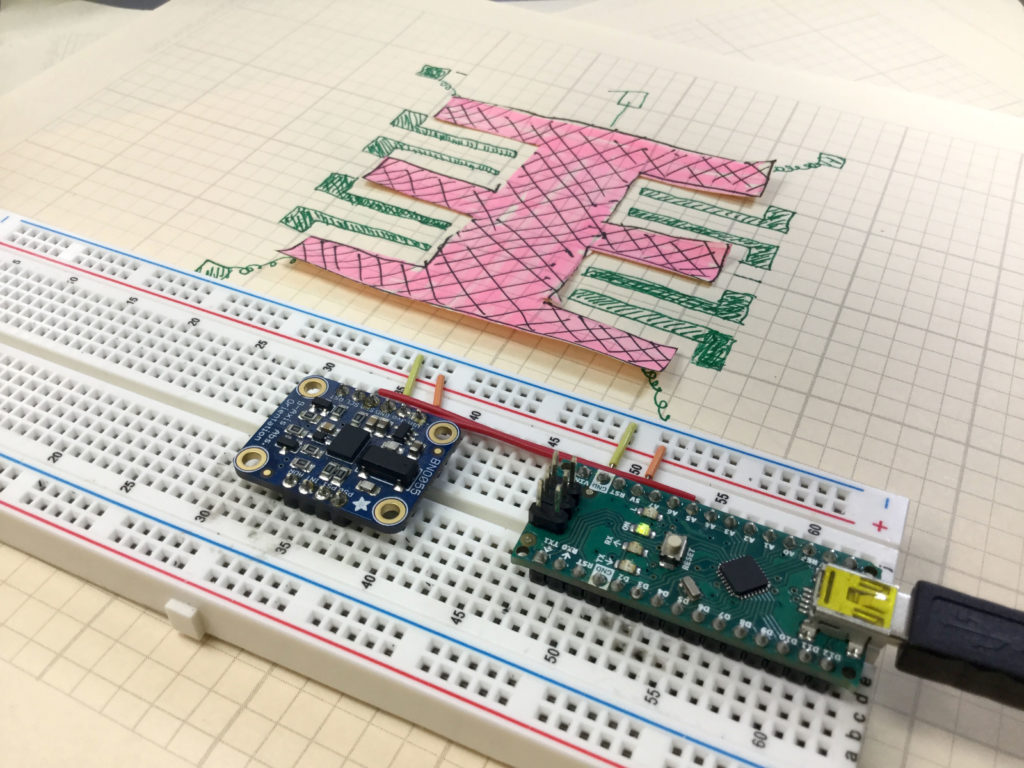
To follow along at home, you will need an Arduino Nano, and an Adafruit BNO055 Inertial Measurement Sensor. We suggest using identical hardware if you want to follow along as different sensors have very different characteristics, and things will work much better for you if we are using the same sensor
This is the code which we developed in the video to demonstrate these concepts.
The code below is for demo purposes only, and should not be used in any real applications. It just demonstrates how to work with this sensor in benchtop presentations.
1 2 3 4 5 6 7 8 9 10 11 12 13 14 15 16 17 18 19 20 21 22 23 24 25 26 27 28 29 30 31 32 33 34 35 36 37 38 39 40 41 42 43 44 45 46 47 48 49 50 51 52 53 54 55 56 57 58 59 60 61 62 63 64 65 66 67 68 69 70 71 72 73 74 75 76 77 78 79 80 81 82 83 | #include <Wire.h> #include <Adafruit_Sensor.h> #include <Adafruit_BNO055.h> #include <utility/imumaths.h> #include <math.h> float thetaM; float phiM; float thetaFold=0; float thetaFnew; float phiFold=0; float phiFnew; float thetaG=0; float phiG=0; float dt; unsigned long millisOld; #define BNO055_SAMPLERATE_DELAY_MS (100) Adafruit_BNO055 myIMU = Adafruit_BNO055(); void setup() { // put your setup code here, to run once: Serial.begin(115200); myIMU.begin(); delay(1000); int8_t temp=myIMU.getTemp(); myIMU.setExtCrystalUse(true); millisOld=millis(); } void loop() { // put your main code here, to run repeatedly: uint8_t system, gyro, accel, mg = 0; myIMU.getCalibration(&system, &gyro, &accel, &mg); imu::Vector<3> acc =myIMU.getVector(Adafruit_BNO055::VECTOR_ACCELEROMETER); imu::Vector<3> gyr =myIMU.getVector(Adafruit_BNO055::VECTOR_GYROSCOPE); thetaM=-atan2(acc.x()/9.8,acc.z()/9.8)/2/3.141592654*360; phiM=-atan2(acc.y()/9.8,acc.z()/9.8)/2/3.141592654*360; phiFnew=.95*phiFold+.05*phiM; thetaFnew=.95*thetaFold+.05*thetaM; dt=(millis()-millisOld)/1000.; millisOld=millis(); thetaG=thetaG+gyr.y()*dt; phiG=phiG-gyr.x()*dt; Serial.print(acc.x()/9.8); Serial.print(","); Serial.print(acc.y()/9.8); Serial.print(","); Serial.print(acc.z()/9.8); Serial.print(","); Serial.print(accel); Serial.print(","); Serial.print(gyro); Serial.print(","); Serial.print(mg); Serial.print(","); Serial.print(system); Serial.print(","); Serial.print(thetaM); Serial.print(","); Serial.print(phiM); Serial.print(","); Serial.print(thetaFnew); Serial.print(","); Serial.print(phiFnew); Serial.print(","); Serial.print(thetaG); Serial.print(","); Serial.println(phiG); phiFold=phiFnew; thetaFold=thetaFnew; delay(BNO055_SAMPLERATE_DELAY_MS); } |

