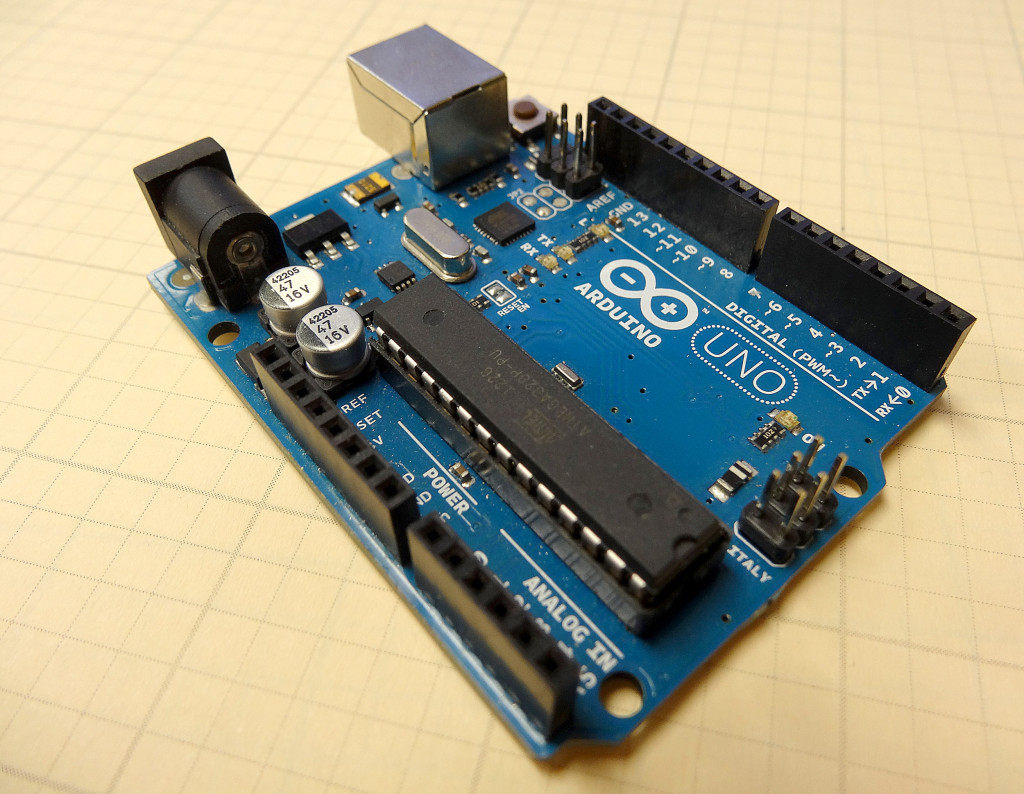
In this lesson we take you step by step through how to build and program your own Binary Counter. In lesson 5 we showed you how to count in Binary, and how Binary numbers work. In today’s lesson, we show you how to practically implement a binary counter using the arduino and LED’s. We are using the elegoo kit, which you can pick up here.
Category Archives: Tutorial
Arduino Tutorial 5: Understanding and Working With Binary Numbers
In this series of Tutorials, I really want you to understand the magic that is happening under the hood of your digital devices. Whether you are talking about in Iphone, a laptop or a digital camera, they all work on the same, very simple principle. That principle is as follows. Any thing around you in the physical world can be represented as a number. You can create a different number for each letter, so letters can be represented by numbers. By stringing those numbers together we can create words, paragraphs and even entire books. Similarly, music and colors can be represented by numbers. At their core, digital devices only understand numbers, so everything around you must be converted to a number for the computer to understand it. The thing is, though, that computers only understand special numbers, known as binary numbers. Binary numbers contain only two characters . . . “0” and “1”. Hence all numbers must be converted to sequences of zeros and ones strung together. With this, any number you can come up with can be represented equally well by a long sequence of zeros and ones. This video shows how Binary numbers work.
Digital devices are simply made up of very large numbers of tiny switches. A modern digital computer might have over 10 billion switches cleverly connected together. Each switch can be thought of as a zero or a one. Hence, even though a switch is a very simple device, when you have lots of them, very complicated things can be done.
Arduino Tutorial 4: Understanding Arduino Variables
In our earlier lessons we would program using “constants” when we needed numbers. For example, if we wanted to set pin 13 to an output, we would use the command:
pinMode(13, OUTPUT);
The problem with using constants like the number 13, if you decided later to use pin 8 instead, you would have to edit every line of code that used that number. It is much better practice to use variables when coding. In this video we show you have to program using variables. We start by doing things the wrong way, using constants, then show you the advantages of using variables.
Hopefully you can see from this video how much better it is, and more efficient to use variables instead of constants. In all the future lessons, we expect you to use variables.
Arduino Tutorial 2: Understanding How Light Emitting Diodes (LEDs) Work
In this series of Arduino lessons, I really want you to begin to understand how the arduino works. That is, open the hood, and begin to understand how the magic happens. You already are thinking about how you can type commands to make the Arduino do what you want, but how does it all work. The magic happens because of special materials called semiconductors. Semiconductors are used to make computer chips, microprocessors, LED’s and just about any electronic component you can imagine. Since semiconductors are so important, this lesson will give you a little bit of an introduction to the Physics behind semiconductor materials. We will do this by really explaining how LED’s work. The video will serve as an introduction to these amazing materials that have enabled computer technology. In this new series of lessons, I will be using this Arduino kit. If you order this kit, you can play along at home as I go through all these lessons.
Arduino Tutorial 1: Getting Started with the Arduino for Beginners
Guys, our original series on the Arduino Microcontroller was insanely popular. Those original lessons had some great technical content, but the production quality of the videos was pretty low. Because of that, I want to go in and redo the arduino tutorials, taking advantage of improved production capabilities I now have, and using fresh hardware and software. For those who have taken the original series, the first few lessons will be material you already have learned. You can choose to review the material, or just skip to the later lessons. In this new series of lessons, I will be using this Arduino kit.
So, enough of this small talk, lets get right into the new and improved lessons.
With the hardware linked to above, you will simply have to install the Arduino software. You can download the Arduino Software here. The installation is explained step-by-step in the above video, but it is pretty self explanatory.
The video takes you through the steps to make the on-board LED turn on, off, or blink. This will be your first few example programs, and hopefully you will see that programming is not that difficult. When you are done with this lesson, you will have written your first few programs. Enjoy!

