Tag Archives: Adafruit Ultimate GPS

LESSON 30: Advanced Software Interrupt Techniques for Reading Serial Data with Arduino

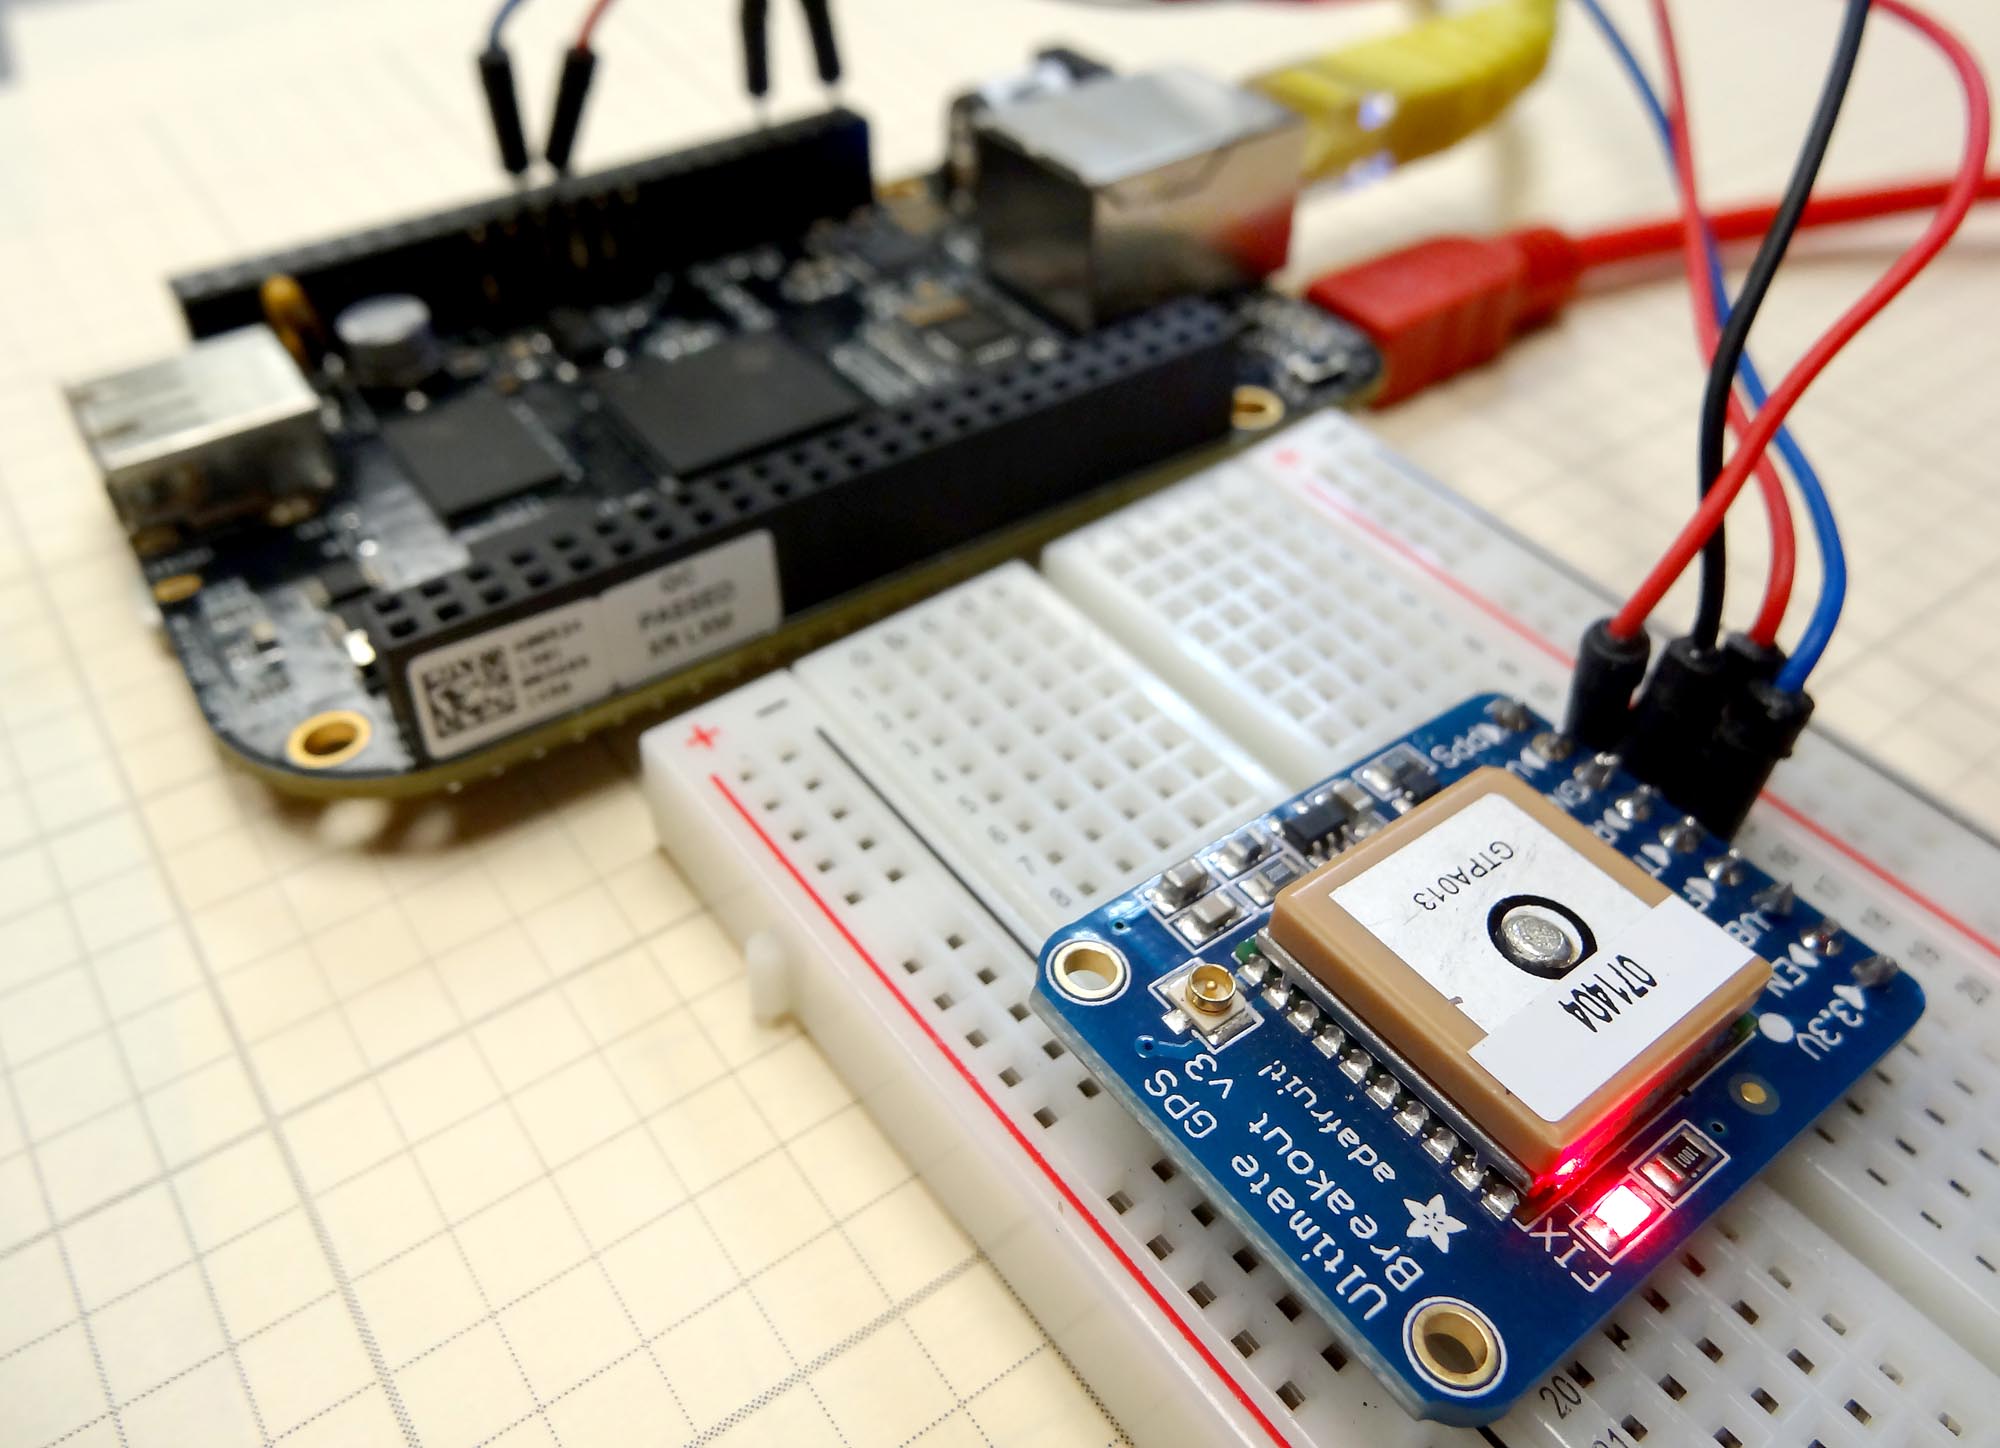
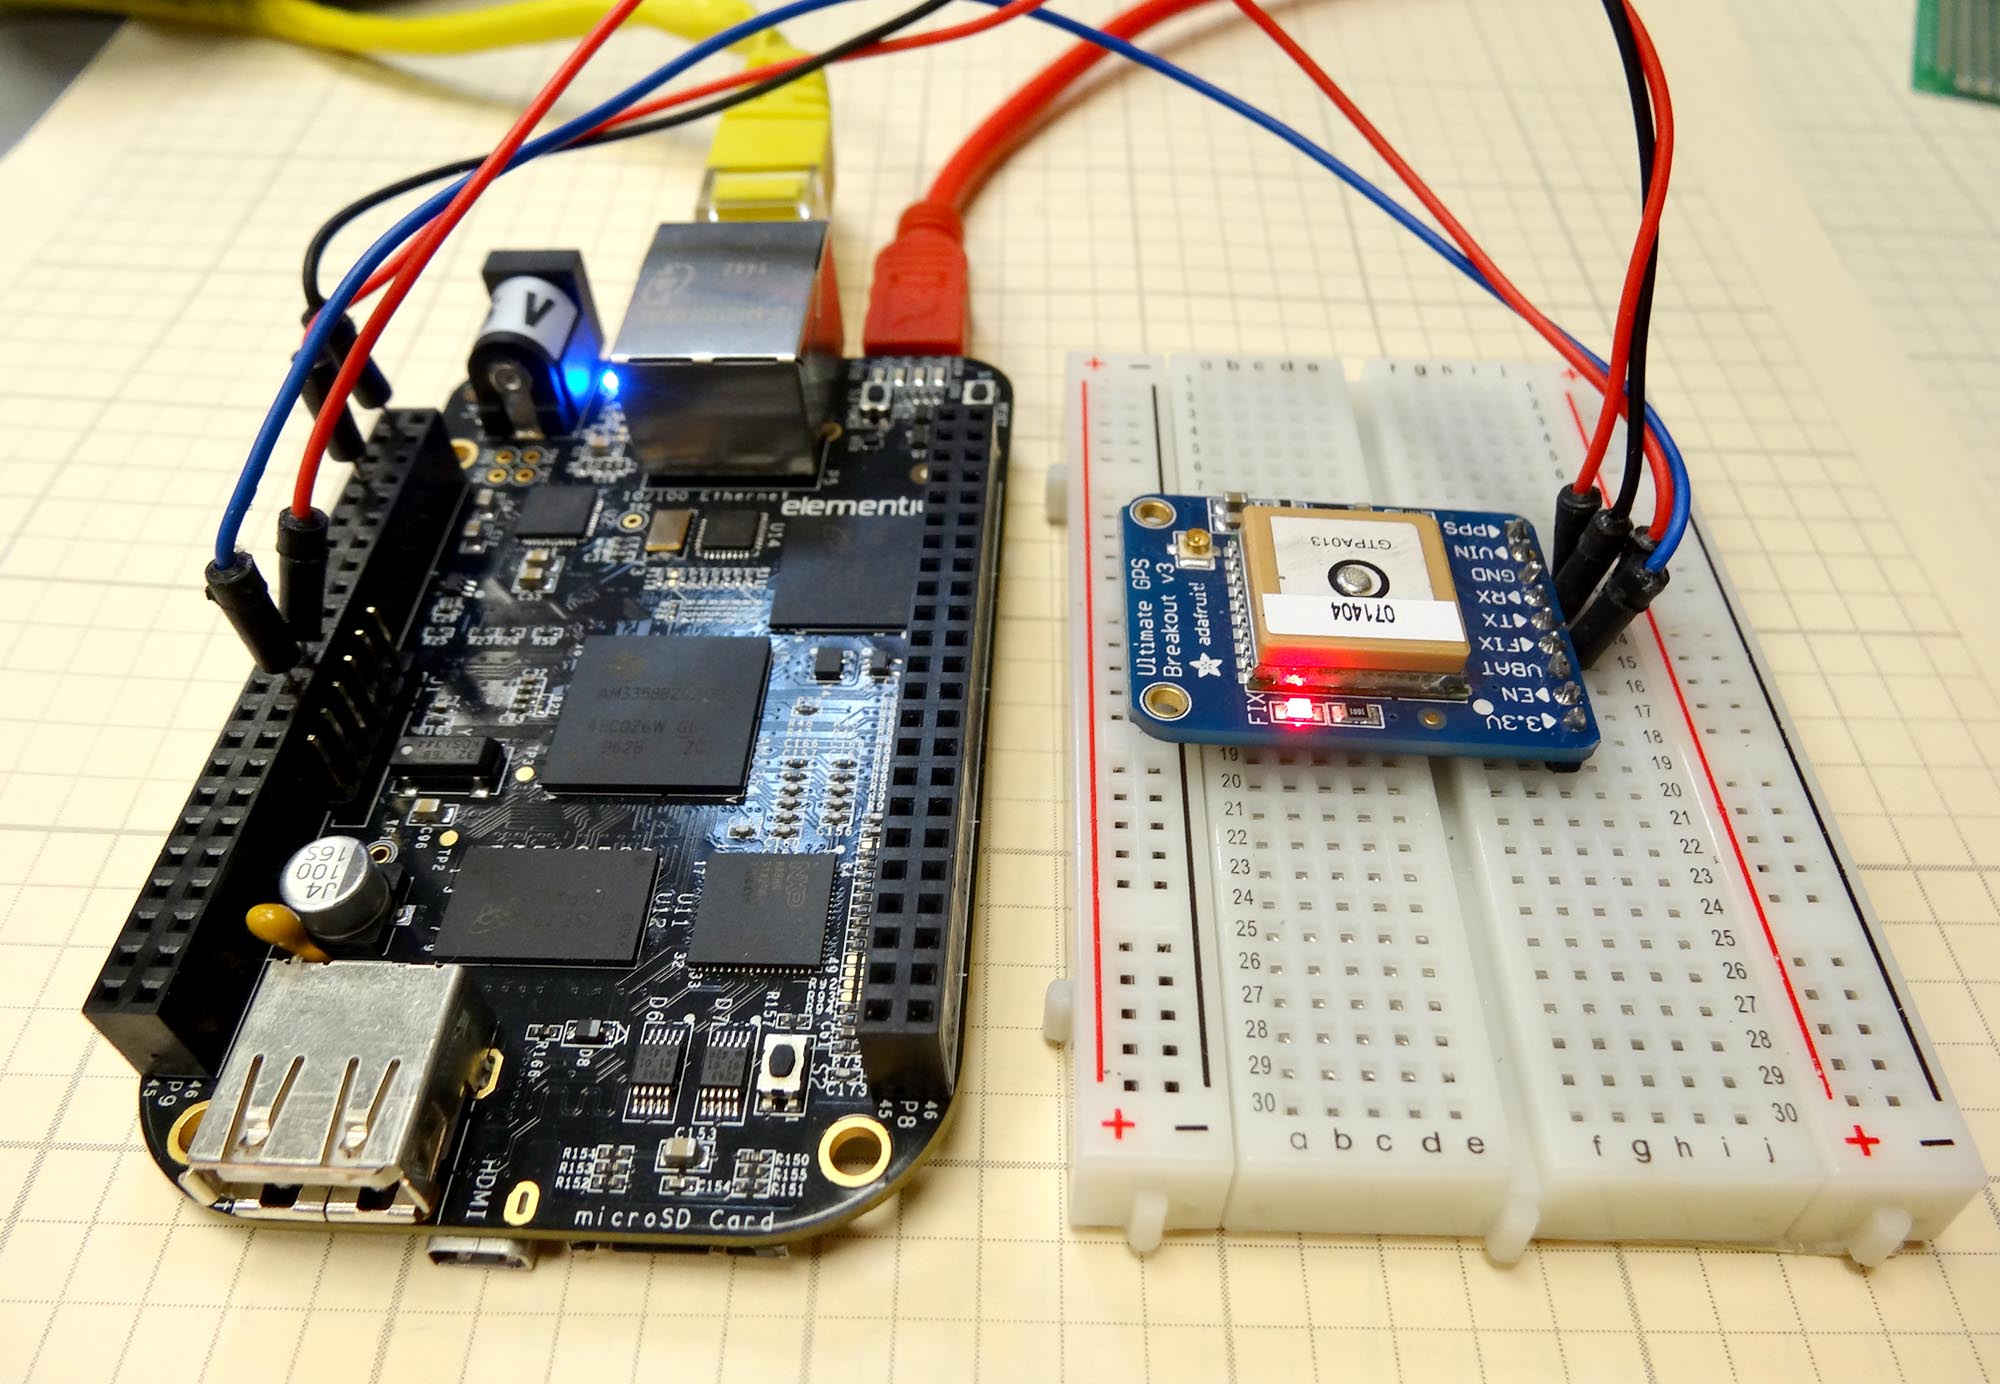
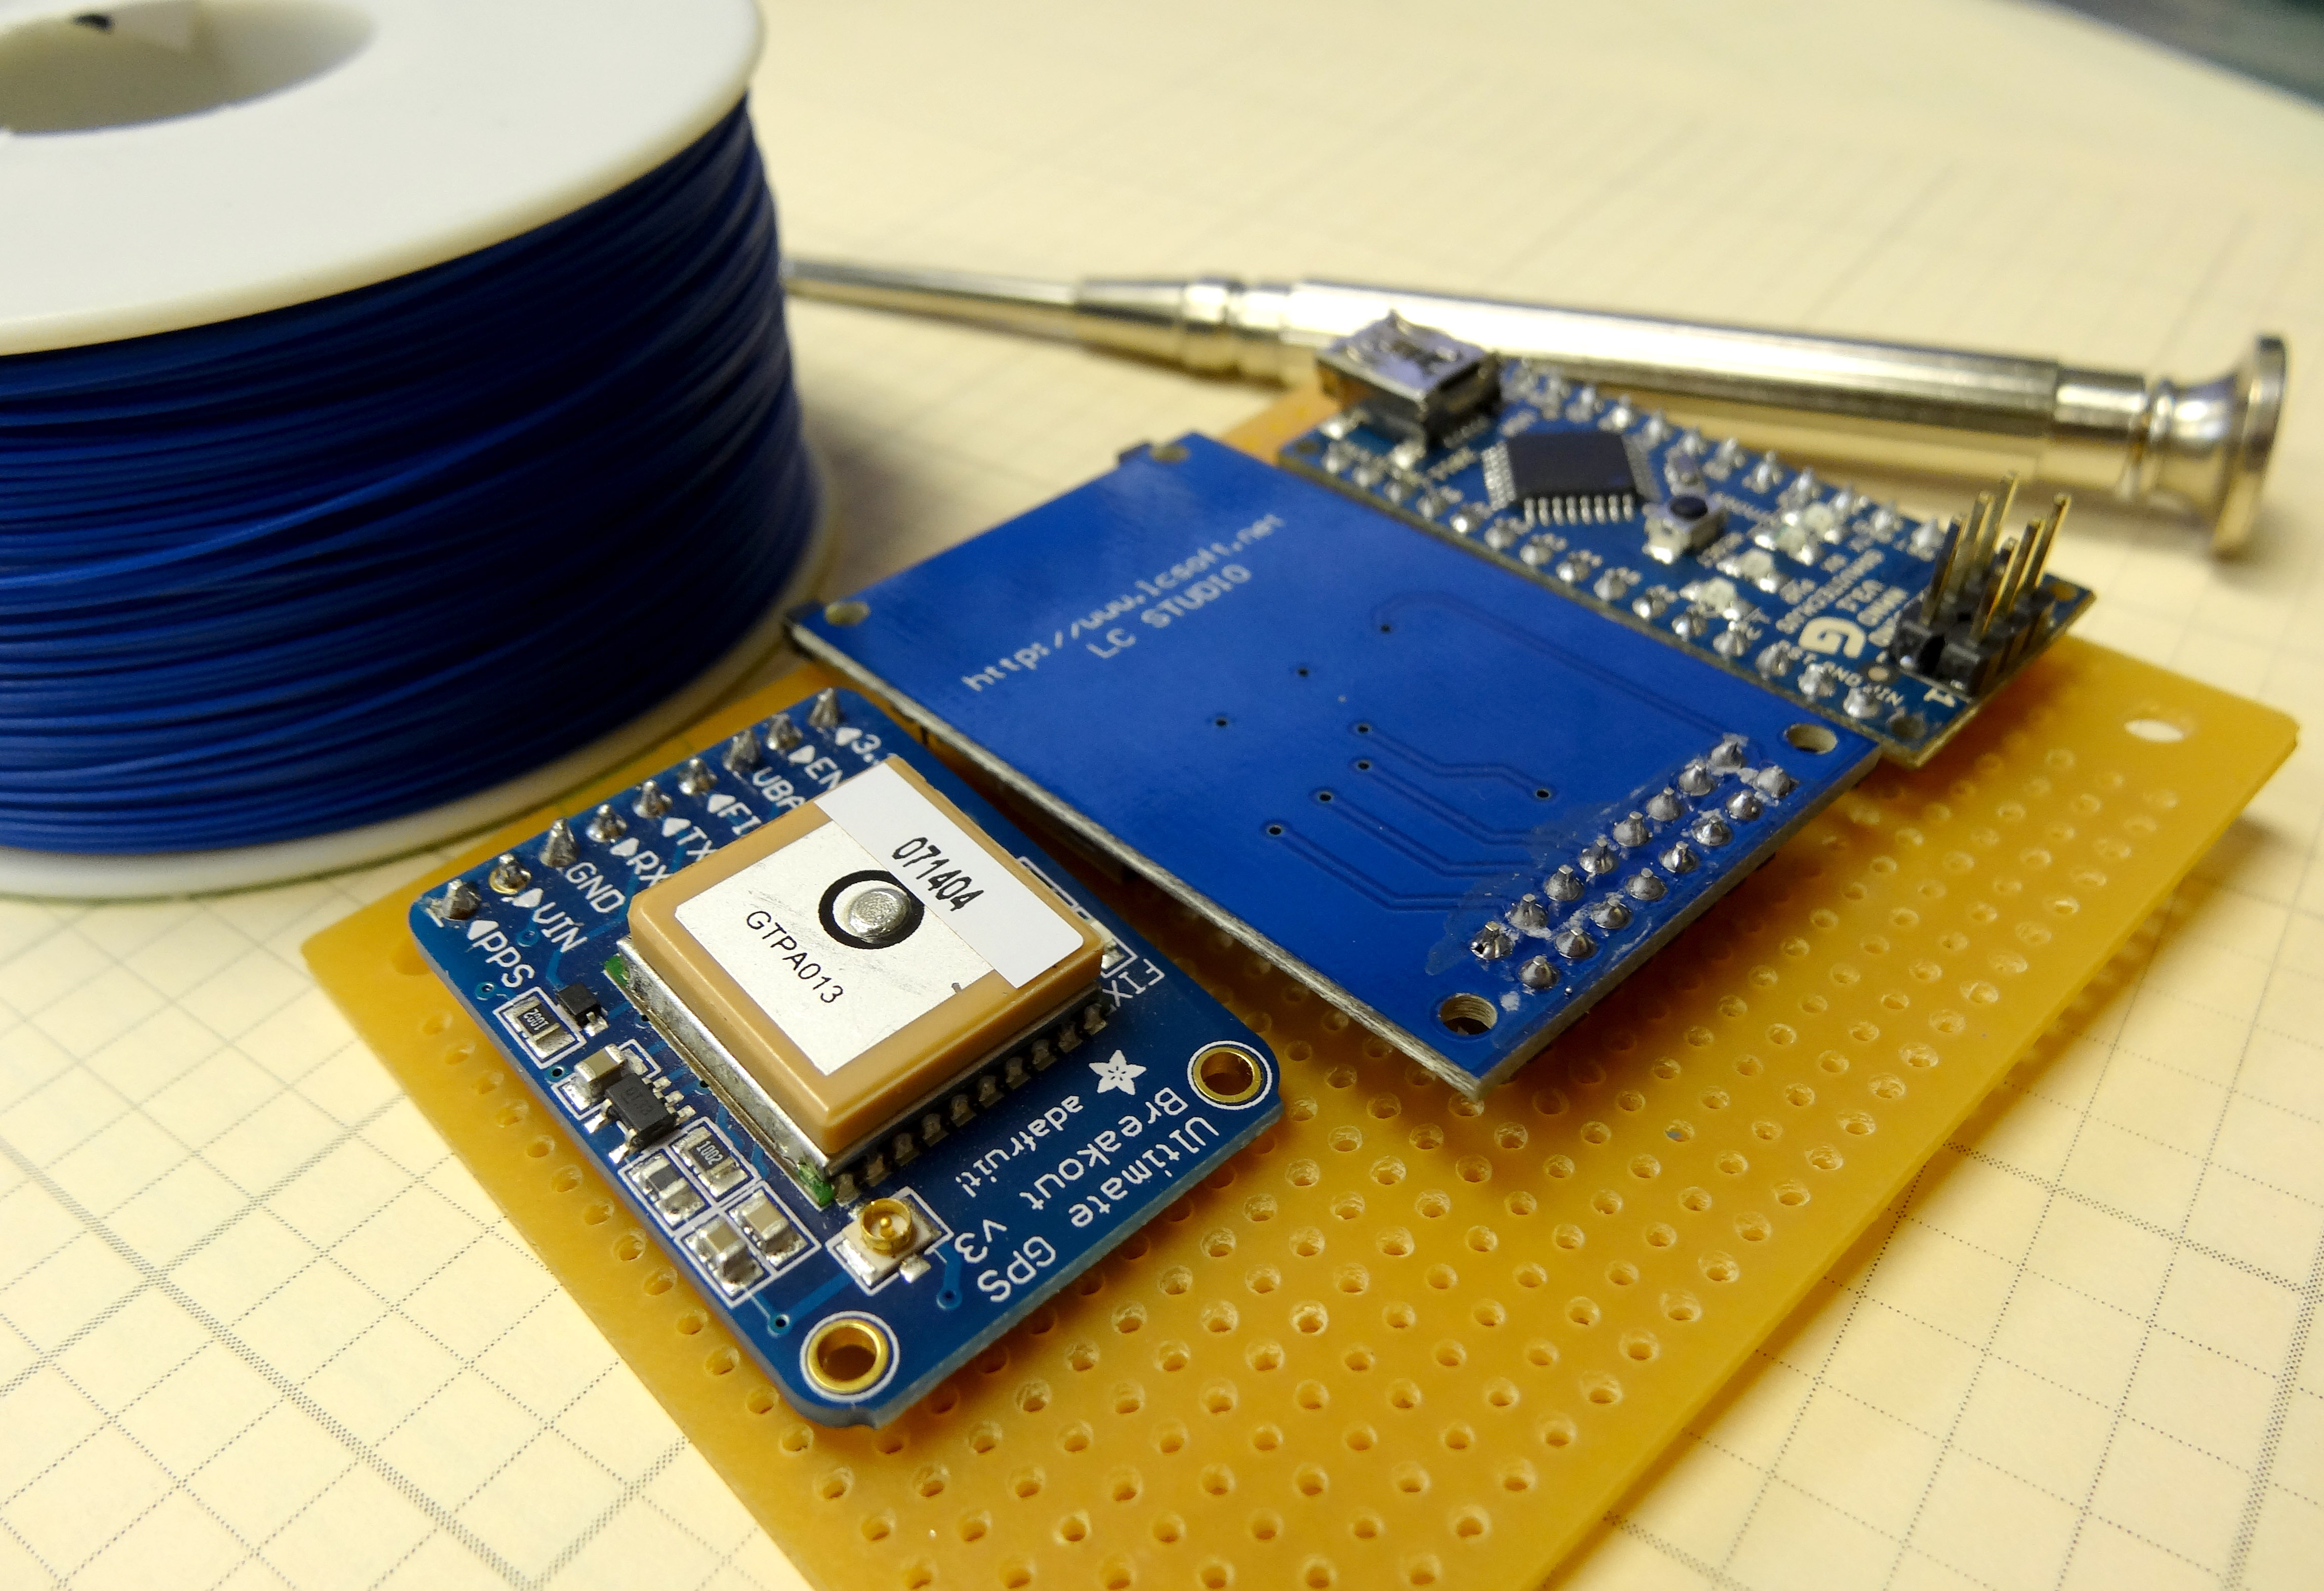
In Lesson 28 and Lesson 29 we showed how to use simple software interrupts to do quick and easy tasks like turning an LED on or off. We emphasized the importance of just doing simple tasks, and to get in and out of the interrupt function as quickly as possible. It is sometimes necessary to do more sophisticated functions. For example, the Adafruit Ultimate GPS immediately begins sending serial data on powerup. Making matters worse, it sends big bursts of data, and then waits, and then later sends bursts of data again. The data that is sent needs to not just be read, but you must parse the data to make sense of it. Hence, you end up needing to do sophisticated functions to parse the data, but at the same time you have to make sure you do not miss any of the new incoming data. This requires a more thoughtful and sophisticated interrupt strategy.

First off, we will need a better software interrupt library. You should erase the TimerOne library you installed in Lesson 28, and replace it with the one here:

https://github.com/PaulStoffregen/TimerOne

The video shows how to get the library if you are not familiar with github.

The video takes you through the code below. While this is done for the Adafruit GPS, this method should work for other sensors that spew serial data.

While we do this demo for the Adafruit GPS, these techniques will work for other sensors that send data over the Serial Pins.

Beaglebone Black GPS Tracker LESSON 5: Displaying Data from GPS in Google Earth

Example of GPS Data displayed in Google Earth

In the earlier lessons in this series we learned how to hook the Adafruit Ultimate GPS up to the Beaglebone Black. In these lessons we got the hardware working, got to the point we could take data, and then got the NMEA sentences parsed, so that we could display understandable data for Latitude, Longitude, and Altitude. In this lesson we will show you how to create a GPS tracker, by logging your GPS data to a file on the Beaglebone Black. Then when you get back home, you can load the data into google earth to see an interactive view of where you have been.

The video shows step-by-step how to get the code working, starting with the code we developed in Lesson 3. We end up with the following program:

 This program should create a file on the Beaglebone Black, and track your longitude, latitude and altitude.

In order to view the file on Google Earth, you will want to put a KMZ wrapper on the coordinates. A reasonable KMZ wrapper is below. Simply take your coordinates from the program above, and paste them in the file below, in the area between <coordinates> and </coordinates>


Beaglebone Black GPS Tracker LESSON 3: Parsing the NMEA Sentences in Python

Beaglebone Black connected to the Adafruit Ultimate GPS

In the first two lessons in this series, you learned how to hook the Beaglebone Black to the Adafruit Ultimate GPS breakout board. We then learned to read NMEA sentences from the GPS, and how to control the data the GPS spits out. In this lesson we will learn to parse the NMEA sentences into useful data. You need to make sure you go back and review the first two lessons, as this one draws heavily on those. Also, you need to start with the code we had developed in LESSON 2. (If you need the gear we are using, you can get the Beaglebone Black HERE, and you can get the Adafruit GPS HERE.)

In this code we move most of the work up into our GPS class. That makes the main part of the program simple and intuitive to use.


Beaglebone Black GPS LESSON 2: Sending Commands to the Adafruit GPS Module

Adafruit Ultimate GPS Connected to the Beaglebone Blak

In lesson 1 we showed you how to connect the Adafruit Ultimate GPS breakout board to the Beaglebone Black and how to read the NMEA sentences streaming off the GPS over the UART pins. In this lesson we will show you how to send commands to the GPS to better tailor its operation for our needs. There are a number of commands that can be sent to it. Some of the things we we can control are the baud rate it communicates at, and the rate that it takes and sends data. We can also influence which NMEA sentences it sends.  In this video we will go over the different commands we can use.

To review, you should connect the GPS as follows:

Adafruit Ultimate GPS connected to the Beaglebone Black Rev C Microcontroller

The video explains the code step-by-step, but here it is for your reference.

This code sets the GPS to communicate at baud rate of 57600, and set it to read and report 5 readings a second. It then sets the GPS to only report the $GPRMC and the $GPGGA sentences. It then constantly reads and reports the NMEA sentences.

LESSON 27: Instrument Package

In this lesson we bring together a lot of the material from the first 26 lessons to create an instrument package that could be deployed in a demonstration project. We will wire wrap up an Arduino Nano, a Virtuabotix SD card reader, and the Adafruit Ultimate GPS to create a system that will track and log position and altitude, and save the data in a format that can be displayed on Google Earth.

Wire Wrapping tools and Perforated Board

You will want to place the Adafruit GPS, the SD Card Reader, and the Arduino Nano into a perf board.  Then, you will want to carefully wire wrap the components as follows:

Connecting the Adafruit Ultimate GPS Unit to Arduino
GPS Pin Arduino Pin
Vin 5V
GND GND
RX Pin 2
TX Pin 3


Connecting the SD Card Reader
Sd Card Reader Pin Arduino Pin Details
GND GND Common Ground
3.3 V – (NOT USED)
+5 5V Power
CS 4 Chip Select
MOSI 11 SPI Data
SCK 13 Clock
MISO 12 SPI Data
GND GND Common Ground


Now the code you developed in LESSON 26 should run on this prototype. The code creates a Google Earth friendly set of coordinates. Just put a KML wrapper on the coordinates as described in LESSON 26.  Putting it all together, I took the system outside and walked around, and this is the data track I got.

GPS track generated by my wire wrapped prototype