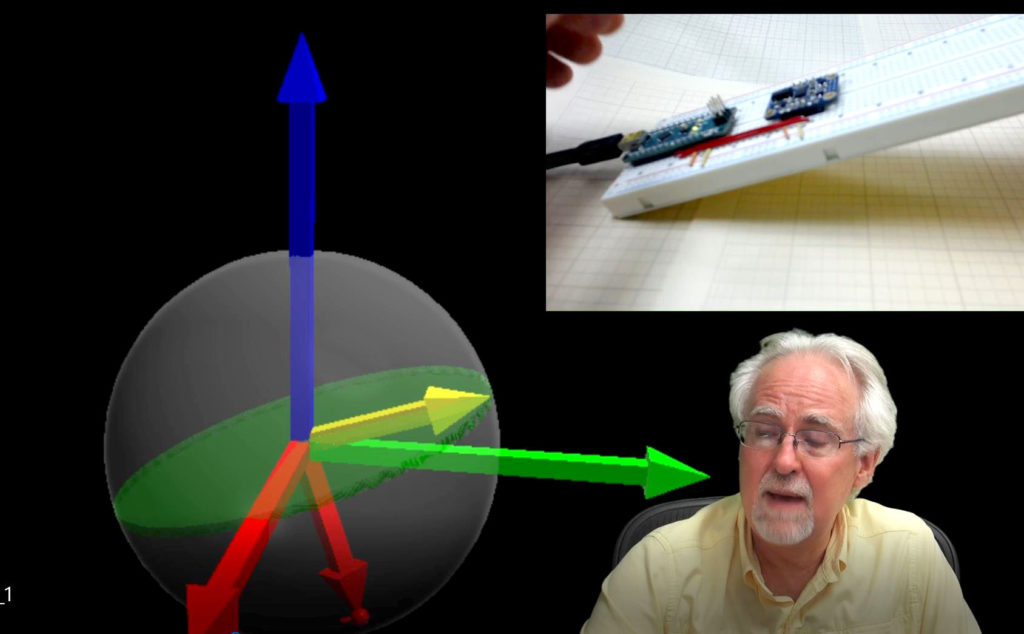
In this lesson we show how a complimentary filter can be used to create the best of both worlds in approximating tilt from data coming from the accelerometers and gyros. The goal of our complimentary filter is to weight our overall result to take advantage the short term accuracy of the gyro measurement, and combine it with the long term stability of the accelerometer. In effect the combination is applying a high pass filter to the gyro and a low pass filter to the accelerometer. Remember that the angles are approximate, and were developed assuming roll and pitch stay under 45 degrees. The trigonometry becomes more difficult when considering higher tilt angles.
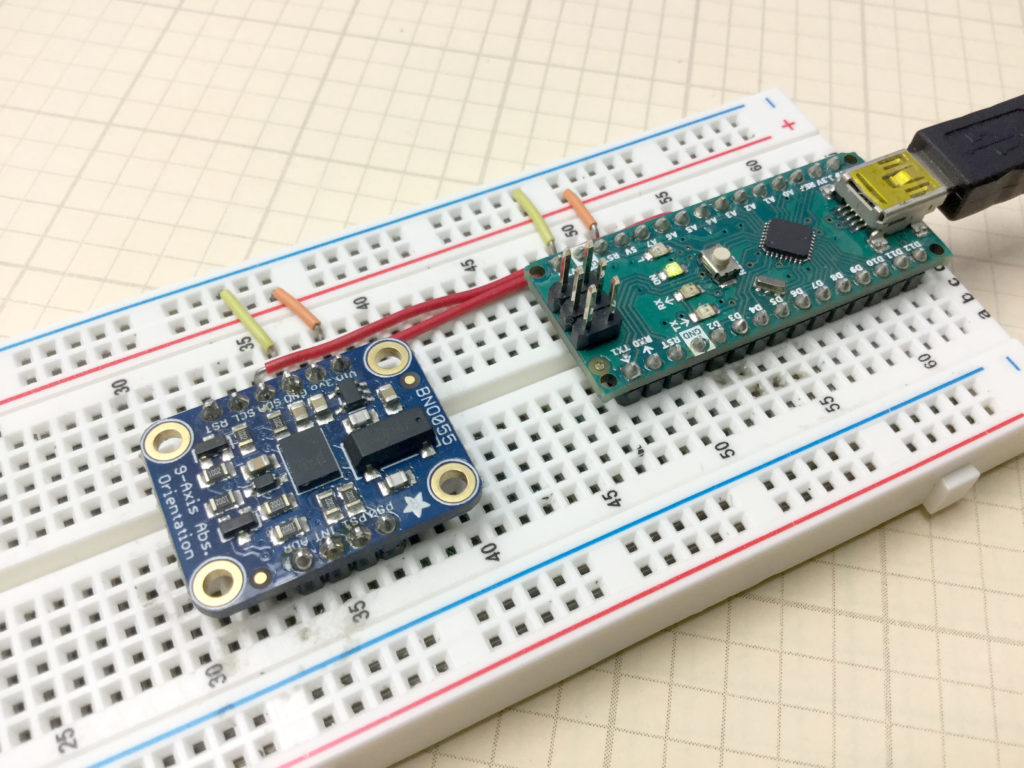
To play along at home, you will need an Arduino Nano, and an Adafruit BNO055 Inertial Measurement Sensor.
The code below is for demo purposes only, and should not be used in any real applications. It just demonstrates how a complimentary filter works. Of course, any real systems need to go into much more depth than the simple demo project below.
|
1 2 3 4 5 6 7 8 9 10 11 12 13 14 15 16 17 18 19 20 21 22 23 24 25 26 27 28 29 30 31 32 33 34 35 36 37 38 39 40 41 42 43 44 45 46 47 48 49 50 51 52 53 54 55 56 57 58 59 60 61 62 63 64 65 66 67 68 69 70 71 72 73 74 75 76 77 78 79 80 81 82 83 84 85 86 87 88 89 90 91 |
#include <Wire.h> #include <Adafruit_Sensor.h> #include <Adafruit_BNO055.h> #include <utility/imumaths.h> #include <math.h> float thetaM; float phiM; float thetaFold=0; float thetaFnew; float phiFold=0; float phiFnew; float thetaG=0; float phiG=0; float theta; float phi; float dt; unsigned long millisOld; #define BNO055_SAMPLERATE_DELAY_MS (100) Adafruit_BNO055 myIMU = Adafruit_BNO055(); void setup() { // put your setup code here, to run once: Serial.begin(115200); myIMU.begin(); delay(1000); int8_t temp=myIMU.getTemp(); myIMU.setExtCrystalUse(true); millisOld=millis(); } void loop() { // put your main code here, to run repeatedly: uint8_t system, gyro, accel, mg = 0; myIMU.getCalibration(&system, &gyro, &accel, &mg); imu::Vector<3> acc =myIMU.getVector(Adafruit_BNO055::VECTOR_ACCELEROMETER); imu::Vector<3> gyr =myIMU.getVector(Adafruit_BNO055::VECTOR_GYROSCOPE); thetaM=-atan2(acc.x()/9.8,acc.z()/9.8)/2/3.141592654*360; phiM=-atan2(acc.y()/9.8,acc.z()/9.8)/2/3.141592654*360; phiFnew=.95*phiFold+.05*phiM; thetaFnew=.95*thetaFold+.05*thetaM; dt=(millis()-millisOld)/1000.; millisOld=millis(); theta=(theta+gyr.y()*dt)*.95+thetaM*.05; phi=(phi-gyr.x()*dt)*.95+ phiM*.05; thetaG=thetaG+gyr.y()*dt; phiG=phiG-gyr.x()*dt; Serial.print(acc.x()/9.8); Serial.print(","); Serial.print(acc.y()/9.8); Serial.print(","); Serial.print(acc.z()/9.8); Serial.print(","); Serial.print(accel); Serial.print(","); Serial.print(gyro); Serial.print(","); Serial.print(mg); Serial.print(","); Serial.print(system); Serial.print(","); Serial.print(thetaM); Serial.print(","); Serial.print(phiM); Serial.print(","); Serial.print(thetaFnew); Serial.print(","); Serial.print(phiFnew); Serial.print(","); Serial.print(thetaG); Serial.print(","); Serial.print(phiG); Serial.print(","); Serial.print(theta); Serial.print(","); Serial.println(phi); phiFold=phiFnew; thetaFold=thetaFnew; delay(BNO055_SAMPLERATE_DELAY_MS); } |