
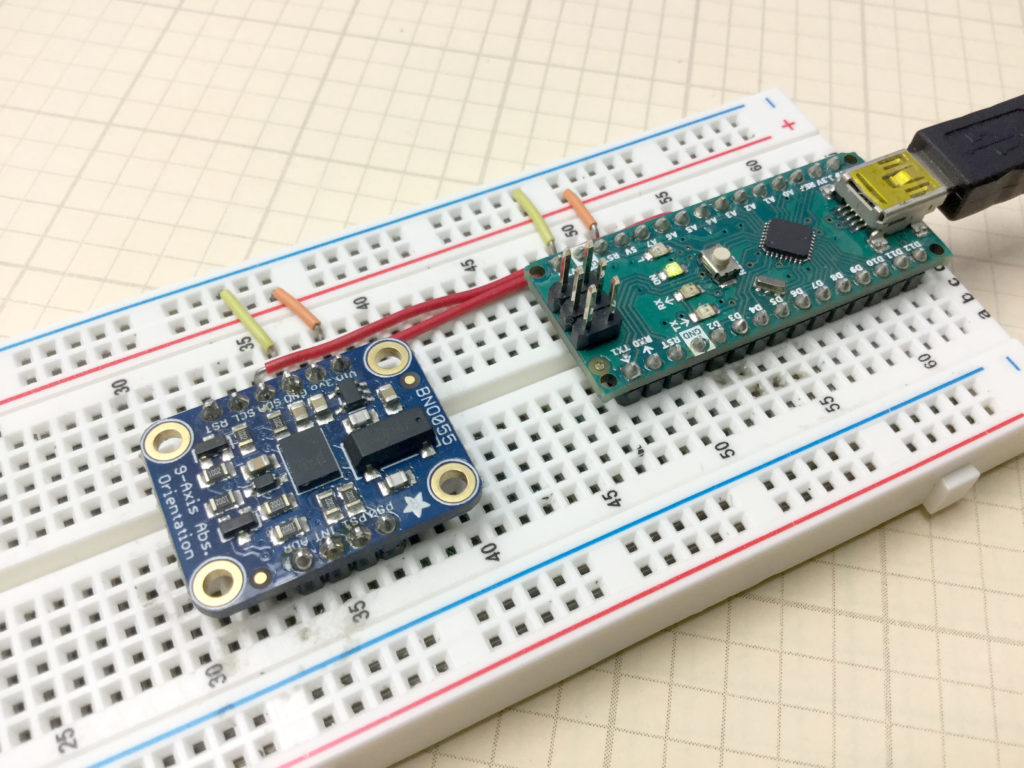
In this lesson we show you how to get a clean calibration on your BNO055 9-axis sensor. In the video below we take you through the coded needed to calibrate the sensor, and a simple technique to quickly get the system properly calibrated.
The code developed in this video will be used in future lessons, and is included below:
The code below is for demo purposes only, and should not be used in any real applications. It just demonstrates how to work with this sensor in benchtop presentations.
|
1 2 3 4 5 6 7 8 9 10 11 12 13 14 15 16 17 18 19 20 21 22 23 24 25 26 27 28 29 30 31 32 33 34 35 36 37 38 39 40 41 42 |
#include <Wire.h> #include <Adafruit_Sensor.h> #include <Adafruit_BNO055.h> #include <utility/imumaths.h> #define BNO055_SAMPLERATE_DELAY_MS (100) Adafruit_BNO055 myIMU = Adafruit_BNO055(); void setup() { // put your setup code here, to run once: Serial.begin(115200); myIMU.begin(); delay(1000); int8_t temp=myIMU.getTemp(); myIMU.setExtCrystalUse(true); } void loop() { // put your main code here, to run repeatedly: uint8_t system, gyro, accel, mg = 0; myIMU.getCalibration(&system, &gyro, &accel, &mg); imu::Vector<3> acc =myIMU.getVector(Adafruit_BNO055::VECTOR_ACCELEROMETER); Serial.print(acc.x()); Serial.print(","); Serial.print(acc.y()); Serial.print(","); Serial.print(acc.z()); Serial.print(","); Serial.print(accel); Serial.print(","); Serial.print(gyro); Serial.print(","); Serial.print(mg); Serial.print(","); Serial.println(system); delay(BNO055_SAMPLERATE_DELAY_MS); } |