The code below shows the work we did in this lesson.
AI on the Edge Lesson 37: Using RTSP and IP Cameras in OpenCV on Raspberry Pi 5
Hey guys! Welcome back to our AI on the Edge series. In our previous lessons, we’ve had a blast working with standard USB webcams, but if you are building a real-world computer vision application, an automation rig, or a security monitoring setup around your home or farm, USB cables just aren’t going to cut it. You need to pull video feeds from remote IP cameras using the Real-Time Streaming Protocol (RTSP).
Today, we are taking that exact step on the Raspberry Pi 5, connecting to an IP camera, streaming the feed smoothly into OpenCV, and—most importantly—solving the dreaded latency problem that plagues RTSP feeds.
The Big Challenge: Conquering RTSP Latency
If you’ve ever tried pulling an RTSP stream into OpenCV straight out of the box, you’ve probably noticed something frustrating: the video lags behind real-time, sometimes by several seconds or even tens of seconds.
Why does that happen? Because by default, FFmpeg and OpenCV buffer incoming frames to ensure smooth playback. But when you are doing computer vision, AI inferencing, or real-time tracking on the edge, you don’t want old history—you want right now.
To fix that, we pass the cv2.CAP_FFMPEG backend flag and immediately flush the buffer by setting the property to 0. This forces OpenCV to drop the backlog and grab the absolute newest frame available from the camera stream, keeping your Pi 5 processing live data in real-time.
Understanding the Script Structure
Let’s break down the key parts of today’s implementation:
Credentials & Resolution: We import a separate secret file to keep our camera IP addresses, usernames, and passwords safe and out of public repositories. We lock our resolution at 1280×720 to balance crisp detail with the Pi 5’s processing overhead.
Smooth FPS Calculation: Instead of a jittery raw frame-rate readout, we use an exponential moving average to give us a stable, readable performance metric on screen.
The Display Window: We configure a GUI window using OpenCV’s window flags so we can easily position and resize our output feed on the desktop.
Drop Your Questions Below
Working with network streams can sometimes be tricky depending on your specific camera’s firmware, codec settings, and network stability. If you run into any connection drops or lag spikes on your Raspberry Pi 5, drop a comment on the video!
Keep building, stay creative, and I will see you guys in Lesson 38!
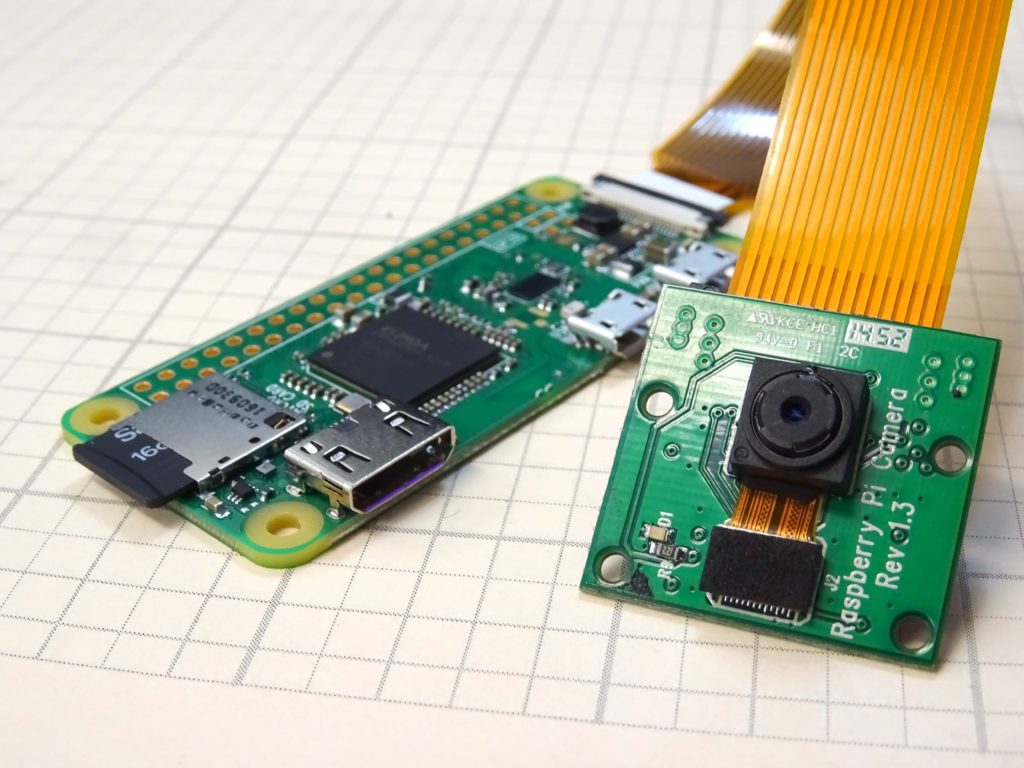
This is a super cool project where we build a concealable, portable, live streaming IP camera based on the Raspberry Pi Zero Model W, and the Raspberry Pi camera module. In order to do this lesson, you need to start with Lesson 1, where we show you how to get the IP address of your Pi zero, and how to get it booted. For this project, you need a Raspberry Pi Zero Model W. If you do not have one, you can get the ESSENTIAL HARDWARE HERE. In addition, you will need the Raspberry Pi Camera, which you can GET HERE. The Pi Zero needs a special Camera Cable, which you can get HERE.
That should be the equipment you need to this really fun project. When you are ready to go, the instructions are in the video below.
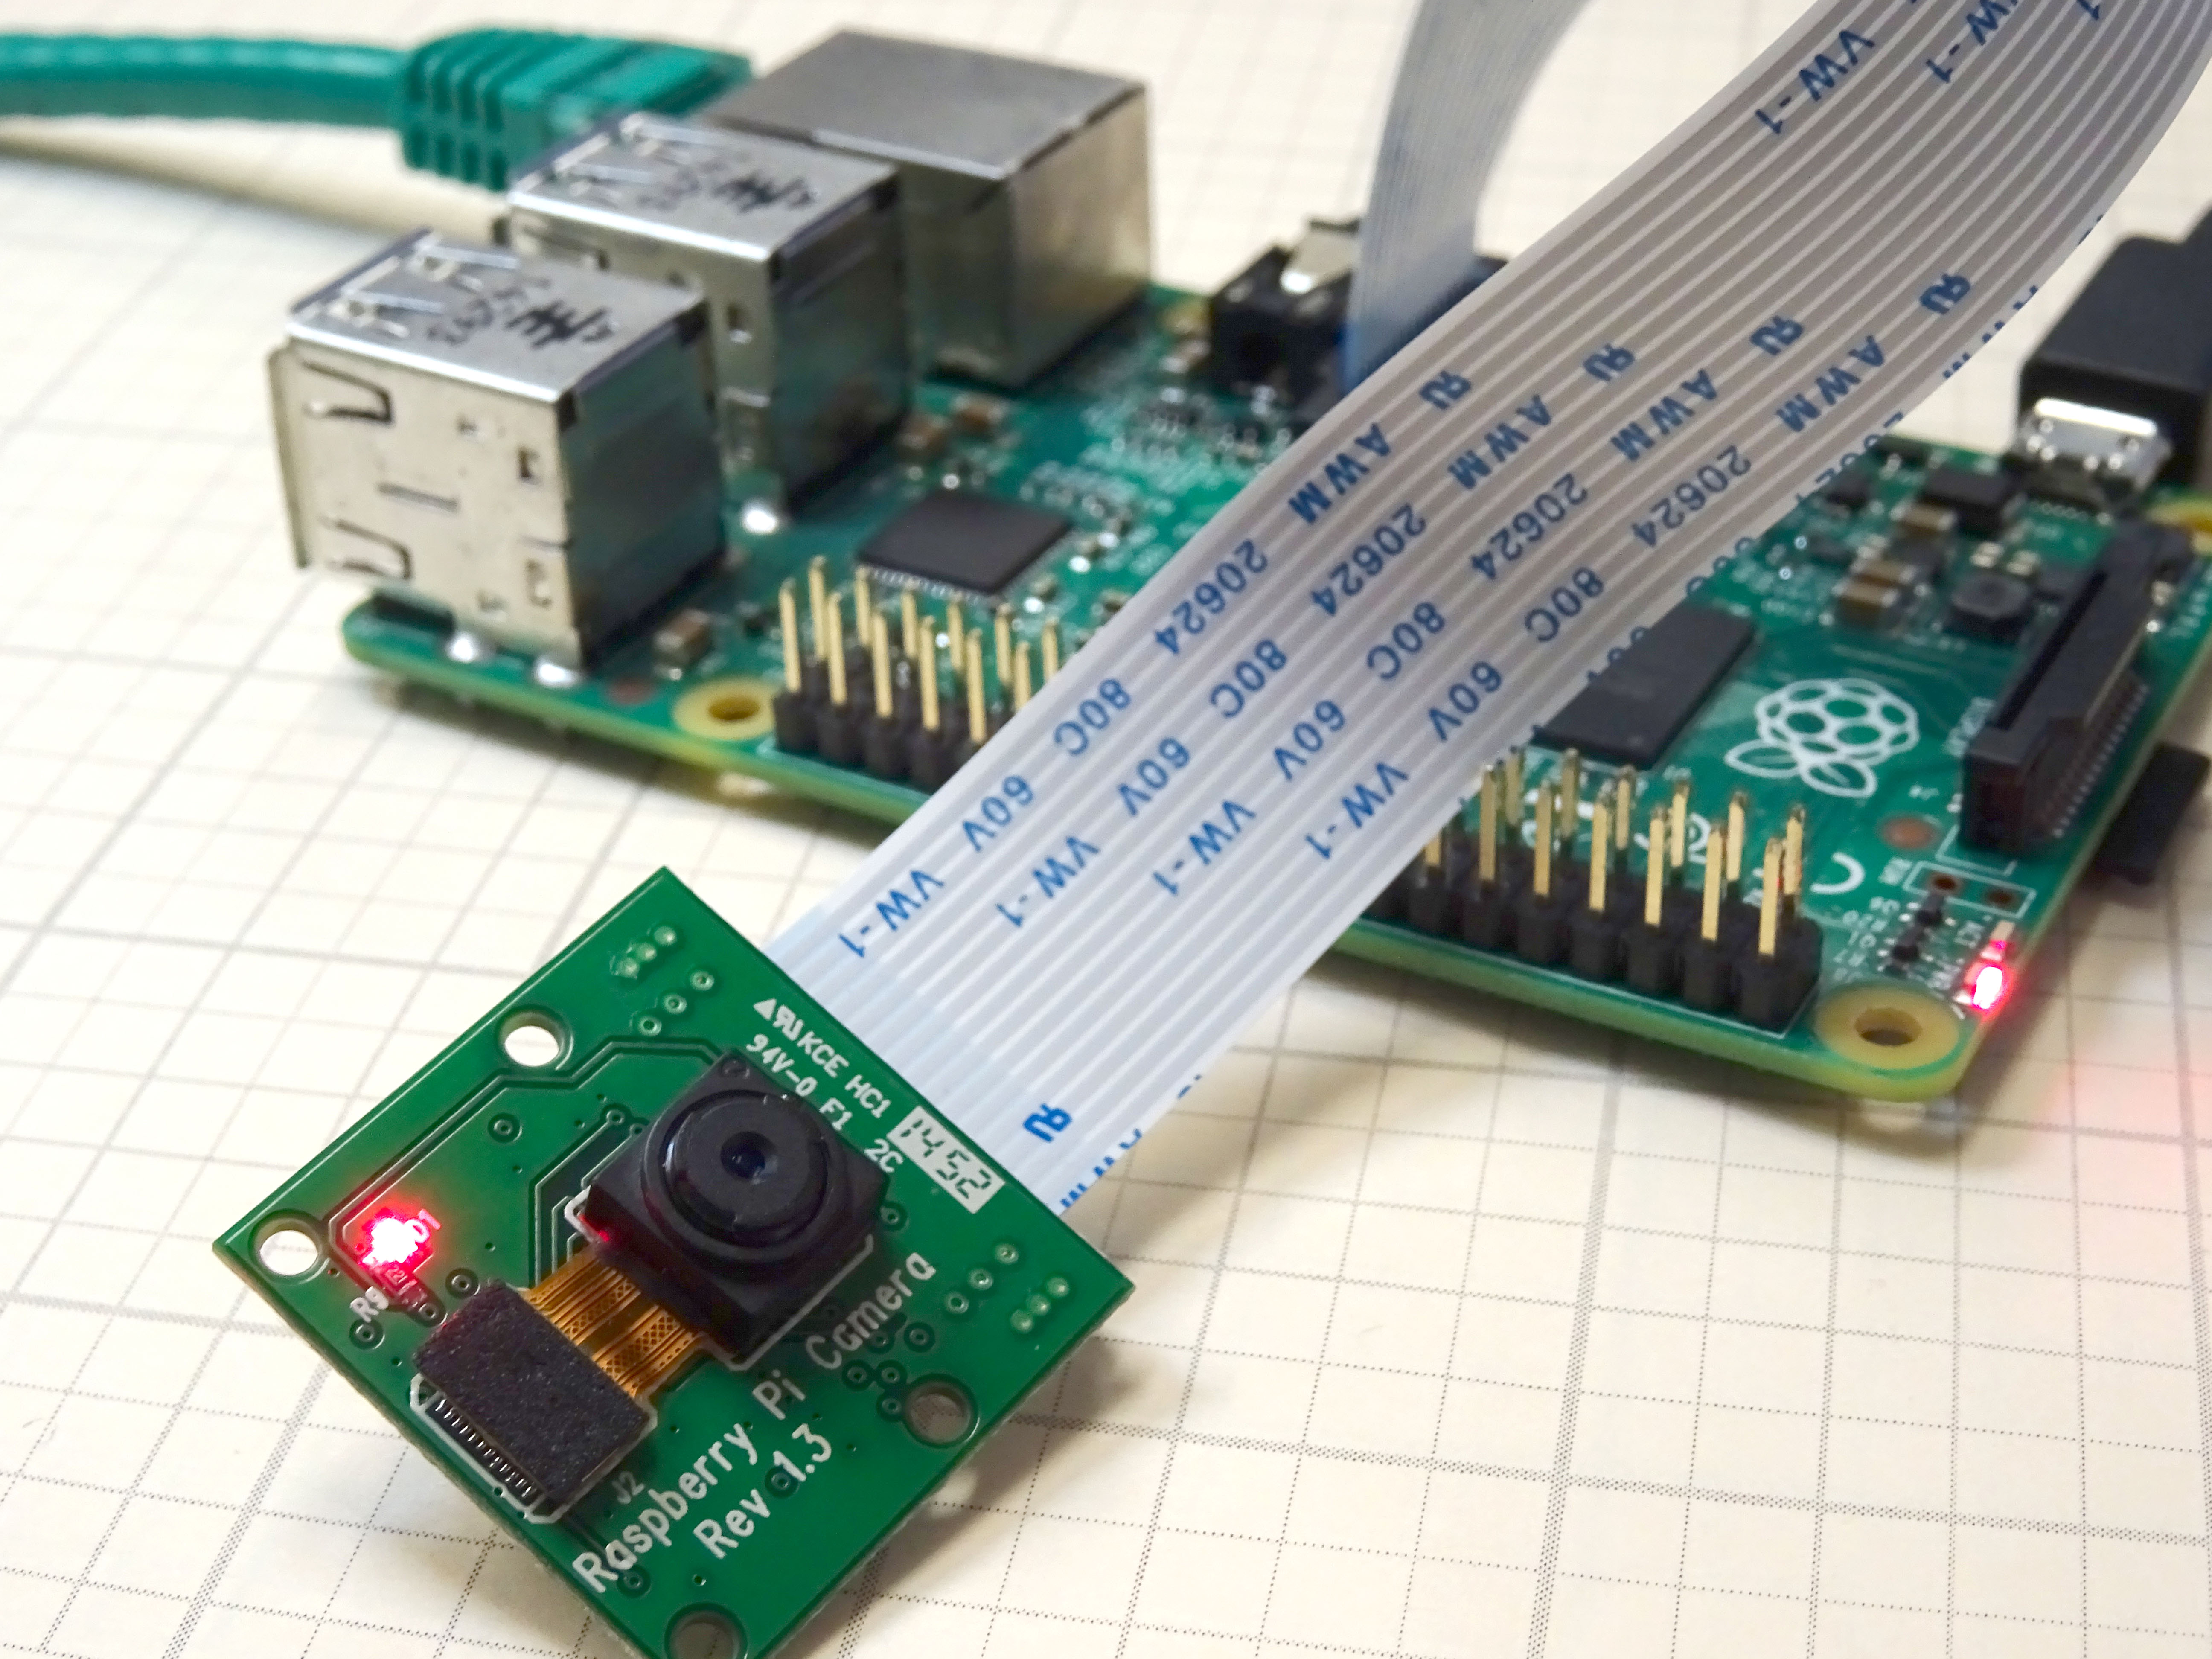
In this lesson we give you a step by step tutorial on how to create a low cost IP camera from a Raspberry Pi and the Raspberry Pi camera module. (If you need to get a Raspberry Pi and Camera Module, we recommend this complete starter Kit, which you can order HERE. If you already have a Raspberry Pi, and just need a camera, you can get the camera module HERE.) We are going to assume you already have your Raspberry Pi up and running, and are able to make a connection to it via Putty or SSH. If you are completely new to the Raspberry Pi, you should probably start with the first two lessons on THIS PAGE.
This video will take you through the steps one at a time. In addition, the tutorial below has the commands that you can copy and paste. We recommend you both follow the video, and get the steps from the instructions below, so you do not have to manually type the commands. Be very careful . . . you must be precise in following these instructions for things to work.
OK, now assuming you have your Raspberry Pi up and running, and you can connect via Putty or SSH, These are the steps to get your dandy personal IP camera working. You will type or copy and paste these lines one at a time into the Raspberry Pi command line.
Now you will want to type or paste this info into the nano window.
Apache
1
<?phpphpinfo();?>
STEP 5: Save your nano file with these key strokes:
Arduino
1
2
3
CtrlO
Enter
CtrlX
To be clear, you press the Control key and the letter “O” at the same time. Then press the enter key. Then press the Control and “X” key at the same time.
STEP 6: Restart the Webserver:
Apache
1
sudo/etc/init.d/lighttpdrestart
STEP 7: Check That the WEB Server is Working:
Go to a browser on a Windows computer on your network, and type:
http://10.1.15.94/
(NOTE: You would use your Pi’s IP address above. The number I use above is the IP address of our Pi. Your number will be different. You can find out your IP address on the pi by typing ifconfig into the terminal window.)
If you configured things correctly, you should get an Apache info page pop up.
Also, you should be able to see your php information page by entering:
http:/10.1.15.94/php.php
Again, you should use your IP address. If you did things correctly you should have a page come up with lots of tables describing php configuration
To be clear, you press the Control key and the letter “O” at the same time. Then press the enter key. Then press the Control and “X” key at the same time.
STEP 13: Restart crtmpserver
Apache
1
sudo/etc/init.d/crtmpserverrestart
STEP 14: Remove ffmpeg
We need to make sure we have a clean copy of ffmpeg, so safest thing to do is un-install it in case an old version is on your pi.
Apache
1
sudoaptituderemoveffmpeg
STEP 15: Intall Latest git-core and ffmpeg software
# By default, the home directories are exported read-only. Change the
# next parameter to 'no' if you want to be able to write to them.
readonly=yes
# File creation mask is set to 0700 for security reasons. If you want to
# create files with group=rw permissions, set next parameter to 0775.
createmask=0700
# Directory creation mask is set to 0700 for security reasons. If you want to
# create dirs. with group=rw permissions, set next parameter to 0775.
directorymask=0700
# By default, \\server\username shares can be connected to by anyone
# with access to the samba server.
# The following parameter makes sure that only "username" can connect
# to \\server\username
# This might need tweaking when using external authentication schemes
validusers=%S
# Un-comment the following and create the netlogon directory for Domain Logons
# (you need to configure Samba to act as a domain controller too.)
;[netlogon]
;comment=NetworkLogonService
;path=/home/samba/netlogon
;guestok=yes
;readonly=yes
[home]
path=/
public=yes
readonly=no
writeable=yes
browseable=yes
createmask=0777
directorymask=0777
# Un-comment the following and create the profiles directory to store
# users profiles (see the "logon path" option above)
# (you need to configure Samba to act as a domain controller too.)
# The path below should be writable by all users so that their
# profile directory may be created the first time they log on
;[profiles]
;comment=Usersprofiles
;path=/home/samba/profiles
;guestok=no
;browseable=no
;createmask=0600
;directorymask=0700
Now save and exit the nano editor with:
Ctrl O
Enter
Ctrl X
At this point, your Raspberry Pi should show up on your Windows computer network on your windows machine. On your windows machine, open a folder, click on “network” on the left, and you should see your raspberry pi show up. Now you can move files to and from your Raspberry Pi from Windows.
STEP 19: Install Strobe Software and WEB Page:
We will want to be able to view the live video stream in a browser, so we need to install the Strobe software. These next steps will install and enable the strobe feature.
Apache
1
cd/var/www/html
Arduino
1
sudomkdirstrobe
Arduino
1
sudochmod-R777strobe
Now the easiest way to get the strobe software is to download it on a windows computer. You can get the software by going to:
and downloading the latest version of strobe media playback.
Now open the zipped folder and drag and drop the folder “for Flash Player 10.1” to your desktop.
Now move the CONTENTS of the unzipped “for Flash Player 10.1” folder onto your Raspberry Pi. You will want to move the CONTENTS of “for Flash Player 10.1” folder into the /home/var/www/html/strobe folder on your Raspberry Pi. If you installed Samba correctly, the Raspberry Pi should show up when you open a folder in Windows and click on “Network”.
Now you have the strobe software installed and you need to create a Strobe WEB page to display your live video.
First, make sure you are in the html folder by typing:
Apache
1
cd/var/www/html
On your raspberry pi, now issue the command:
Apache
1
sudonanoindex.html
Now paste this code into your Nano window. You can paste by copying the code below, and then going to your Raspberry Pi command Window, and right mouse clicking.
JavaScript
1
2
3
4
5
6
7
8
9
10
11
12
13
14
15
16
17
18
19
20
21
22
23
24
25
26
27
28
29
30
31
32
33
34
35
36
37
38
39
40
41
42
43
<!DOCTYPE html PUBLIC"-//W3C//DTD XHTML 1.0 Strict//EN""http://www.w3.org/TR/xhtml1/DTD/xhtml1-strict.dtd">
Now you should save and exit nano with these commands:
Arduino
1
2
3
CtrlO
Enter
CtrlX
To be clear, you press the Control key and the letter “O” at the same time. Then press the enter key. Then press the Control and “X” key at the same time.
STEP 20: Enable Raspbery Pi Camera Module:
At the command line enter:
Apache
1
sudoraspi-config
Scroll down and enable the camera.
STEP 21: Start the Camera:
You are now ready to fire up the camera. You can start the camera by issuing this command in the Raspberry Pi command window.