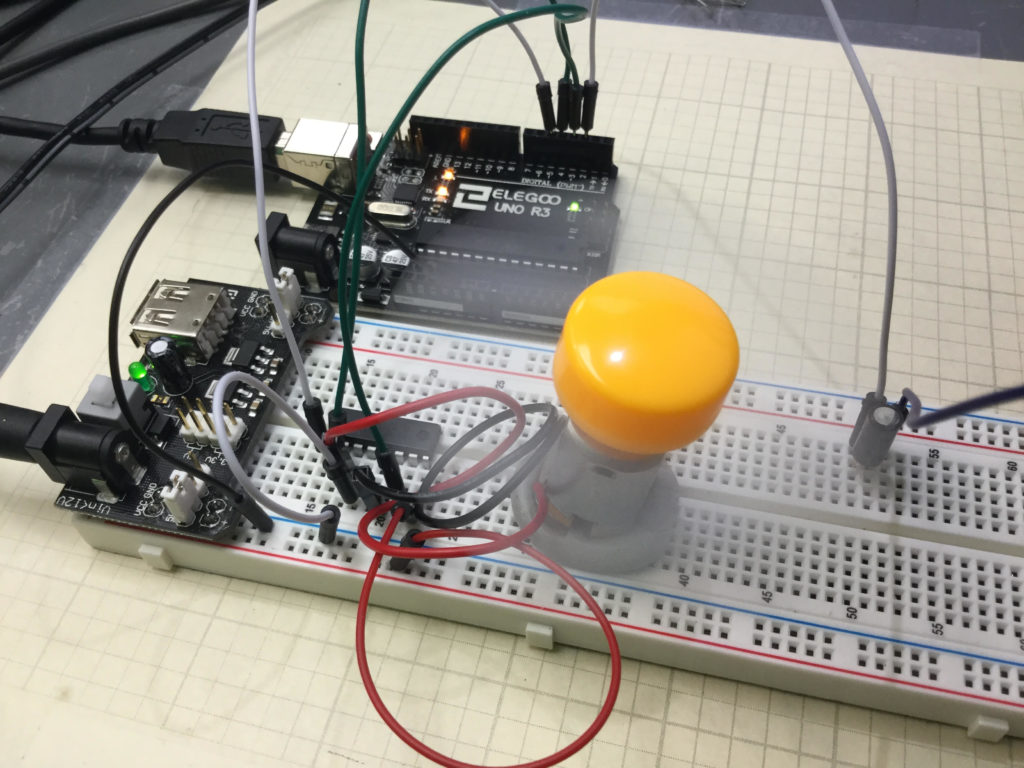
In this lesson we explore how to add a tilt cutoff to our DC motor project. In many cases, you may want to automatically turn your motors off in the case where your project or robot tips over. The tilt switch is a simple way to do this. The video below takes you through the process step-by-step.
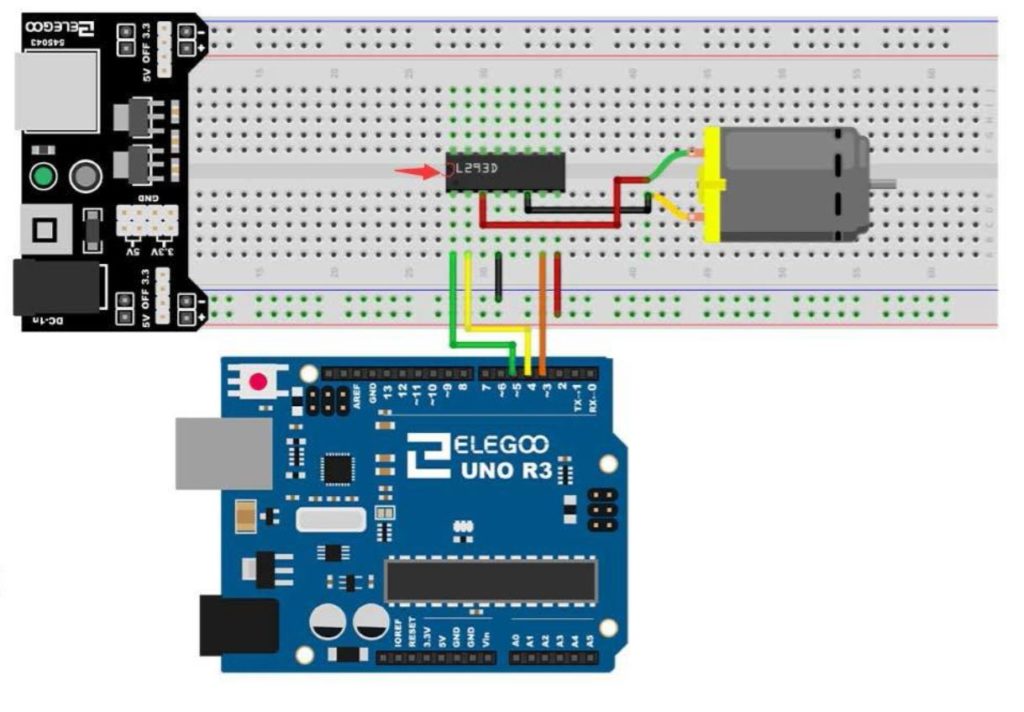
If you need help hooking the circuit up, the diagram below shows you a schematic of what we are working with. All these components are part of our ELEGOO Super Starter Kit.

In addition, you will need to add the tilt switch, as shown in the video.
Below is the code we used, with the tilt switch connected to pin 2 on the arduino.
1 2 3 4 5 6 7 8 9 10 11 12 13 14 15 16 17 18 19 20 21 22 23 24 25 26 27 28 29 30 31 32 | int speedPin=5; int dir1=4; int dir2=3; int mSpeed=255; int tiltPin=2; int tiltVal; void setup() { // put your setup code here, to run once: pinMode(speedPin,OUTPUT); pinMode(dir1,OUTPUT); pinMode(dir2,OUTPUT); pinMode(tiltPin,INPUT); digitalWrite(tiltPin,HIGH); Serial.begin(9600); } void loop() { // put your main code here, to run repeatedly: digitalWrite(dir1,LOW); digitalWrite(dir2,HIGH); tiltVal=digitalRead(tiltPin); Serial.println(tiltVal); if (tiltVal==0){ analogWrite(speedPin,mSpeed); } if (tiltVal==1){ analogWrite(speedPin,0); } } |
