
 The cool thing about the arduino is you can program it to interact with the real world. The arduino can connect to and interact with a variety of sensors and actuators which allow you to monitor what is happening around you, and to control things like motors, relays, and servos. To do this though, you need to be able to connect components to the arduino. For prototyping, that is most easily done by using a breadboard. If you want to play along at home, An official Arduino Uno R3 is available HERE. In this new series of lessons, I will be using the sensor and other components found in this KIT.
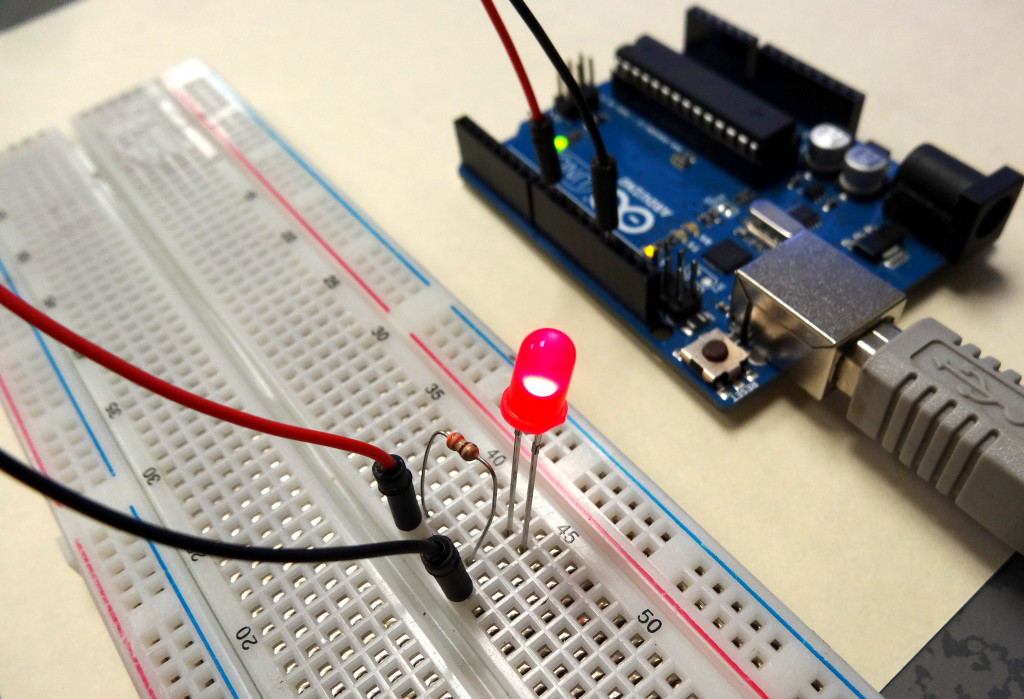
The video below describes in detail how to use a breadboard, and even helps you get your first circuit prototype up and running.
As explained in the video, key to using the breadboard to create circuits is to understand how the little holes on the breadboard are connected. This graphic will help you understand which holes are connected and which are not.
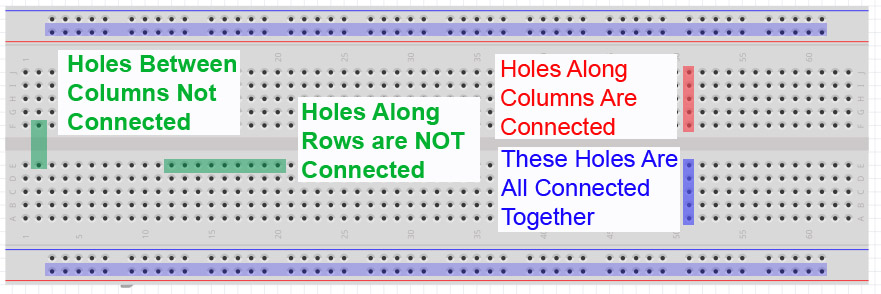
Study this graphic, and make sure you understand how the breadboard works. You can see that to connect two leads together, they should be plugged into the same column on the breadboard. It does not matter which column, as long as the two leads are in the same column.
It will take some practice, but if you follow the video carefully, you should be able to get your first circuit connected and working.