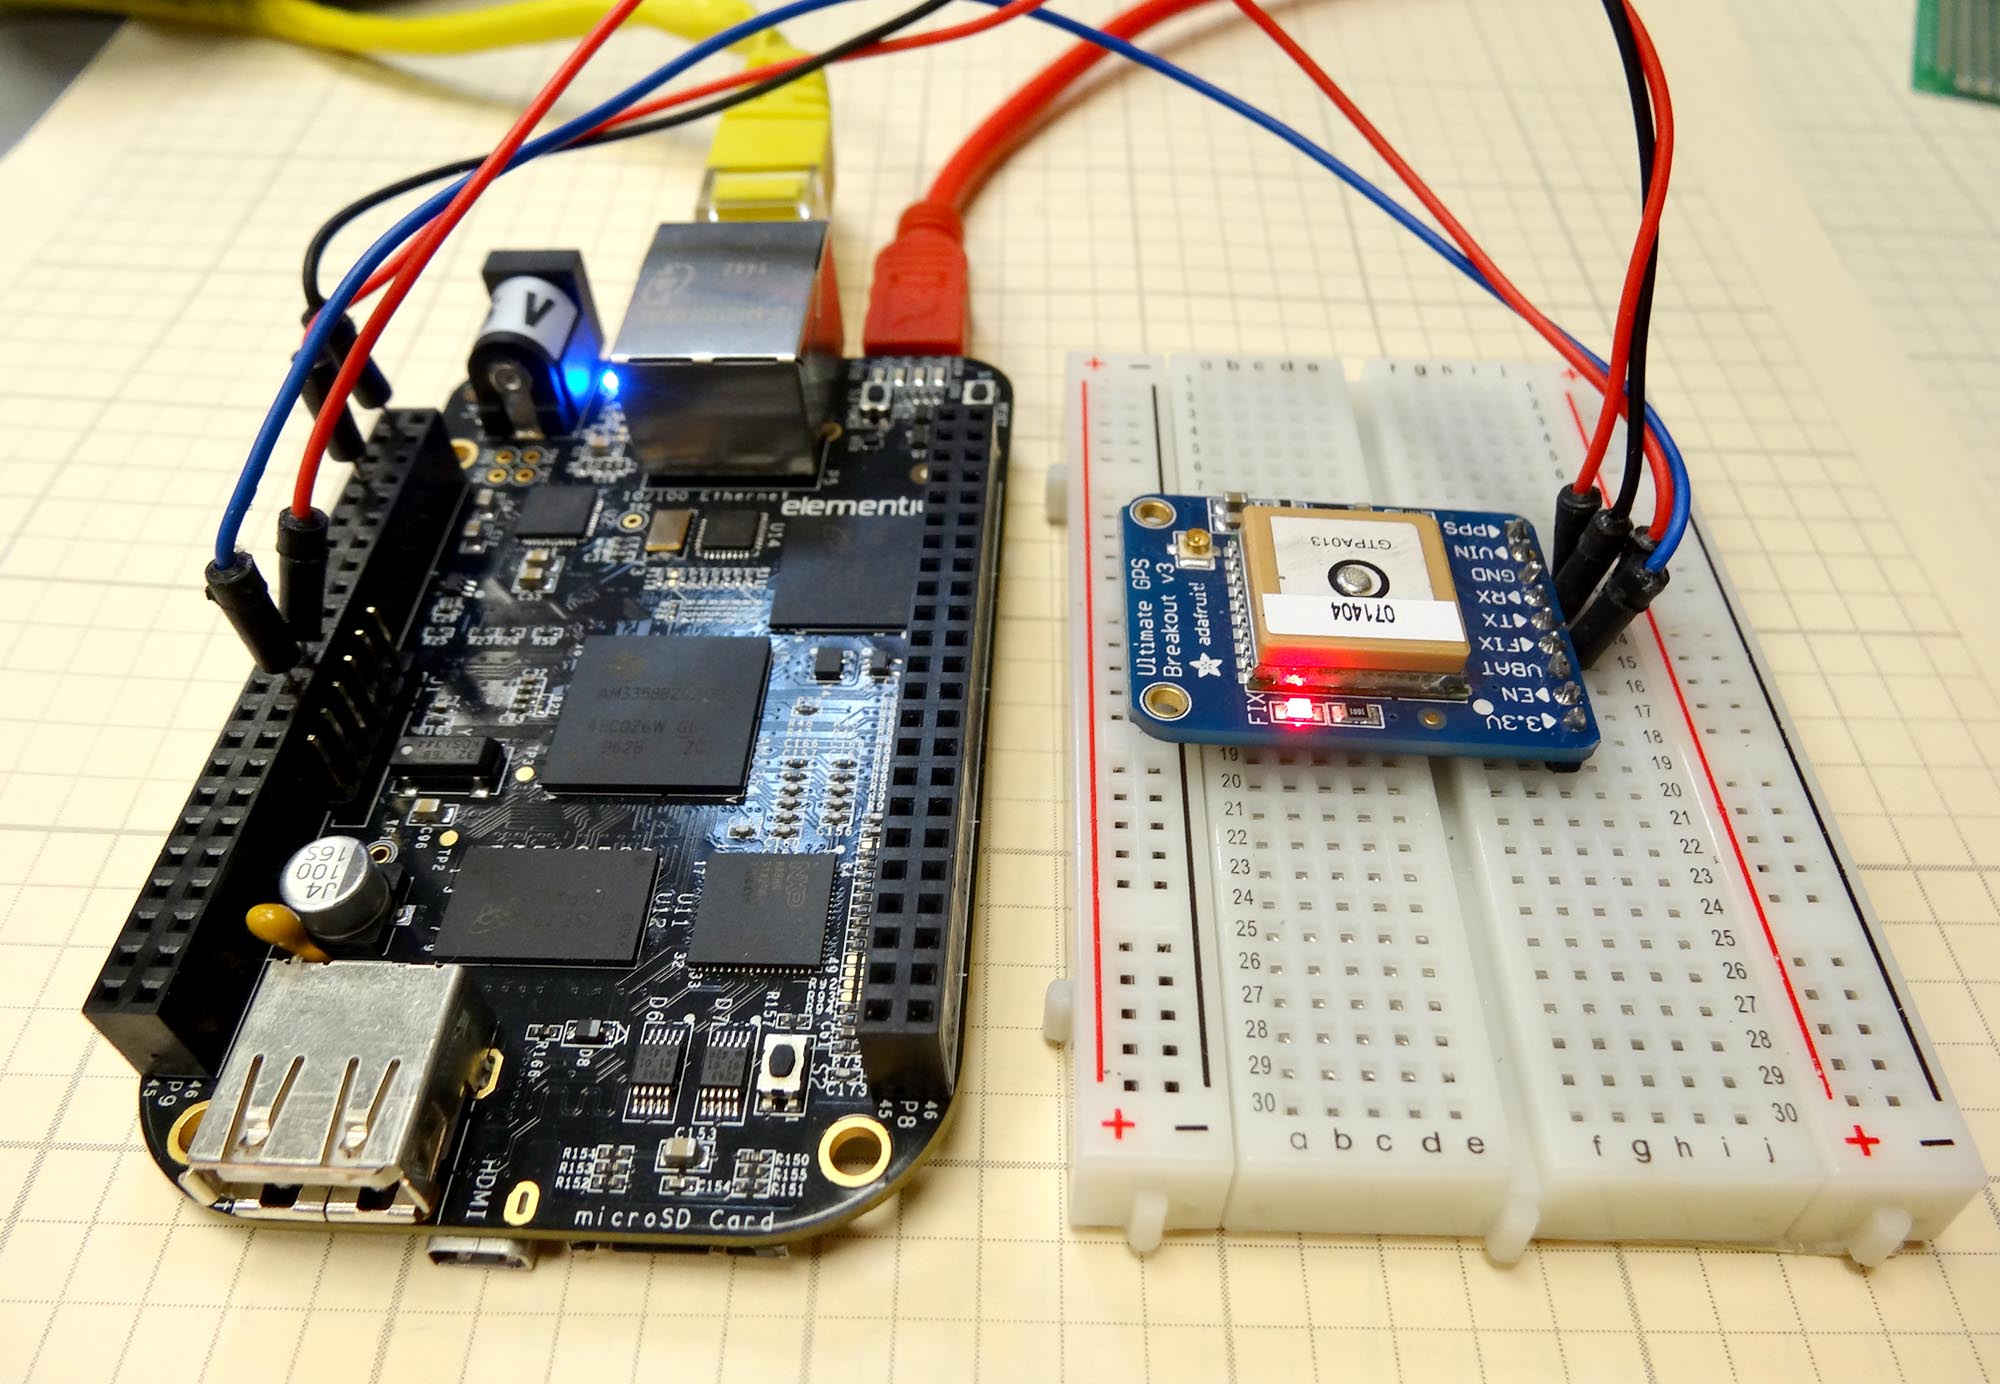
import serial
import Adafruit_BBIO.UART as UART
from time import sleep
UART.setup("UART1")
ser=serial.Serial('/dev/ttyO1',9600)
class GPS:
def __init__(self):
#This sets up variables for useful commands.
#This set is used to set the rate the GPS reports
UPDATE_10_sec= "$PMTK220,10000*2F\r\n" #Update Every 10 Seconds
UPDATE_5_sec= "$PMTK220,5000*1B\r\n" #Update Every 5 Seconds
UPDATE_1_sec= "$PMTK220,1000*1F\r\n" #Update Every One Second
UPDATE_200_msec= "$PMTK220,200*2C\r\n" #Update Every 200 Milliseconds
#This set is used to set the rate the GPS takes measurements
MEAS_10_sec = "$PMTK300,10000,0,0,0,0*2C\r\n" #Measure every 10 seconds
MEAS_5_sec = "$PMTK300,5000,0,0,0,0*18\r\n" #Measure every 5 seconds
MEAS_1_sec = "$PMTK300,1000,0,0,0,0*1C\r\n" #Measure once a second
MEAS_200_msec= "$PMTK300,200,0,0,0,0*2F\r\n" #Meaure 5 times a second
#Set the Baud Rate of GPS
BAUD_57600 = "$PMTK251,57600*2C\r\n" #Set Baud Rate at 57600
BAUD_9600 ="$PMTK251,9600*17\r\n" #Set 9600 Baud Rate
#Commands for which NMEA Sentences are sent
ser.write(BAUD_57600)
sleep(1)
ser.baudrate=57600
GPRMC_ONLY= "$PMTK314,0,1,0,0,0,0,0,0,0,0,0,0,0,0,0,0,0,0,0*29\r\n" #Send only the GPRMC Sentence
GPRMC_GPGGA="$PMTK314,0,1,0,1,0,0,0,0,0,0,0,0,0,0,0,0,0,0,0*28\r\n"#Send GPRMC AND GPGGA Sentences
SEND_ALL ="$PMTK314,1,1,1,1,1,1,0,0,0,0,0,0,0,0,0,0,0,0,0*28\r\n" #Send All Sentences
SEND_NOTHING="$PMTK314,0,0,0,0,0,0,0,0,0,0,0,0,0,0,0,0,0,0,0*28\r\n" #Send Nothing
ser.write(UPDATE_200_msec)
sleep(1)
ser.write(MEAS_200_msec)
sleep(1)
ser.write(GPRMC_GPGGA)
sleep(1)
ser.flushInput()
ser.flushInput()
print "GPS Initialized"
def read(self):
ser.flushInput()
ser.flushInput()
while ser.inWaiting()==0:
pass
self.NMEA1=ser.readline()
while ser.inWaiting()==0:
pass
self.NMEA2=ser.readline()
NMEA1_array=self.NMEA1.split(',')
NMEA2_array=self.NMEA2.split(',')
if NMEA1_array[0]=='$GPRMC':
self.timeUTC=NMEA1_array[1][:-8]+':'+NMEA1_array[1][-8:-6]+':'+NMEA1_array[1][-6:-4]
self.latDeg=NMEA1_array[3][:-7]
self.latMin=NMEA1_array[3][-7:]
self.latHem=NMEA1_array[4]
self.lonDeg=NMEA1_array[5][:-7]
self.lonMin=NMEA1_array[5][-7:]
self.lonHem=NMEA1_array[6]
self.knots=NMEA1_array[7]
if NMEA1_array[0]=='$GPGGA':
self.fix=NMEA1_array[6]
self.altitude=NMEA1_array[9]
self.sats=NMEA1_array[7]
if NMEA2_array[0]=='$GPRMC':
self.timeUTC=NMEA2_array[1][:-8]+':'+NMEA1_array[1][-8:-6]+':'+NMEA1_array[1][-6:-4]
self.latDeg=NMEA2_array[3][:-7]
self.latMin=NMEA2_array[3][-7:]
self.latHem=NMEA2_array[4]
self.lonDeg=NMEA2_array[5][:-7]
self.lonMin=NMEA2_array[5][-7:]
self.lonHem=NMEA2_array[6]
self.knots=NMEA2_array[7]
if NMEA2_array[0]=='$GPGGA':
self.fix=NMEA2_array[6]
self.altitude=NMEA2_array[9]
self.sats=NMEA2_array[7]
myGPS=GPS()
while(1):
myGPS.read()
print myGPS.NMEA1
print myGPS.NMEA2
if myGPS.fix!=0:
print 'Universal Time: ',myGPS.timeUTC
print 'You are Tracking: ',myGPS.sats,' satellites'
print 'My Latitude: ',myGPS.latDeg, 'Degrees ', myGPS.latMin,' minutes ', myGPS.latHem
print 'My Longitude: ',myGPS.lonDeg, 'Degrees ', myGPS.lonMin,' minutes ', myGPS.lonHem
print 'My Speed: ', myGPS.knots
print 'My Altitude: ',myGPS.altitude

