
Tag Archives: Lesson

AI on the Edge LESSON 9: Make Your Raspberry Pi Talk with TTS

In today’s lesson, we’re going to make a huge leap forward in giving our Raspberry Pi some real personality. We’re going to teach it how to talk using Text-to-Speech (TTS). Instead of just blinking LEDs or printing text to the screen, our Pi will now speak out loud with a clear, natural-sounding voice.

This is a really fun and important lesson because one of the main goals of this class is to build intelligent systems that can interact with us in more human ways. Being able to make your Raspberry Pi speak opens up all kinds of exciting possibilities — whether you want your robot to tell you what it sees, have your AI assistant read sensor data out loud, or just add some personality and humor to your projects.

In this video, I show you how to use the TTS capabilities on the SunFounder Fusion AI Hat. You’ll learn how to install and set up the TTS engine, speak simple sentences, change voices, and control when the Pi talks. We’ll also look at how to make the speech sound more natural and how to integrate it smoothly into your programs without freezing everything else.

By the end of this lesson, your Raspberry Pi will be able to speak clearly and confidently — which is going to make the rest of our AI on the Edge journey a lot more exciting. Voice output combined with voice input (which we’ll work on soon) is what turns a simple circuit into a real interactive AI companion.

So go ahead and grab your Fusion AI Hat, plug in a speaker, and let’s give your Raspberry Pi a voice! As always, I encourage you to code along with me in the video and then experiment. Try making it say funny things, read temperatures, announce when it detects a face — whatever sparks your creativity.

This is where your projects start to feel truly alive.

I’m really excited for you on this one — let’s make your Raspberry Pi talk!

This is the schematic we are using on these projects;

Fusion Hat Circuit Diagram
This is the circuit we will use moving forward in the class

This Schematic is explained in detail in LESSON #5.

Then this is the code we developed in today’s lesson.


Raspberry Pi Zero Model W Tutorial: Setting Up and Booting the Pi 0 W


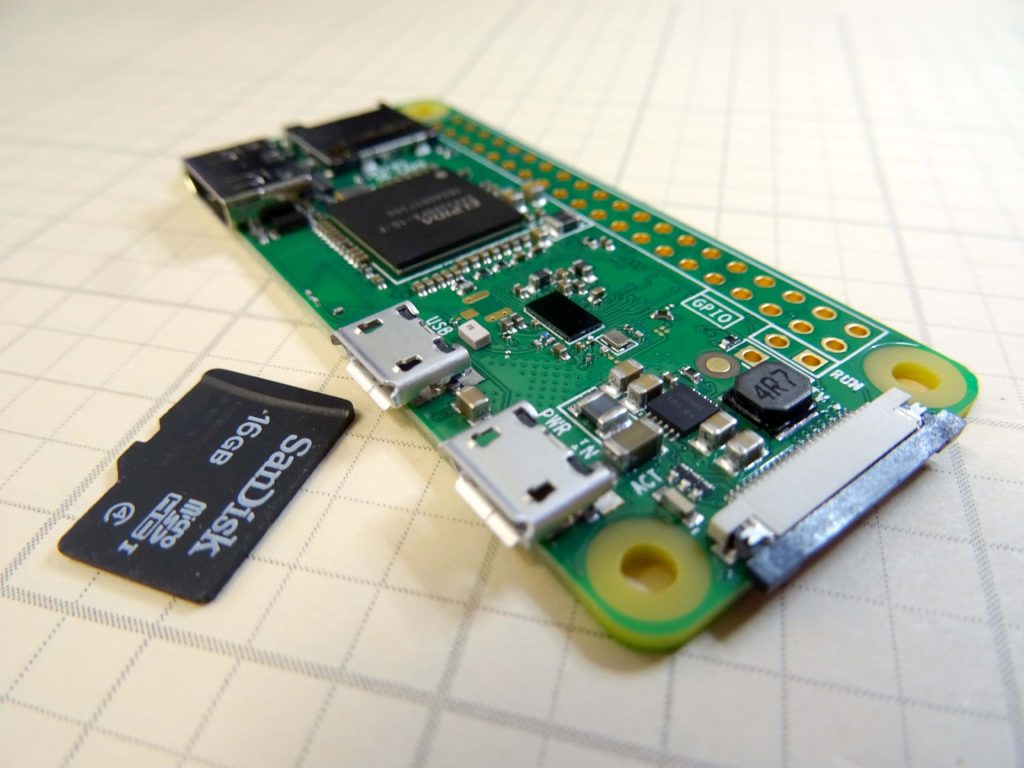
Raspberry Pi Model Zero
We are Excited to Get our Pi Zero Model W Up and Running

We have our Raspberry Pi Zero Model W booted up and running. Our interest is to run the device headless, but we must first discover our IP address. This lesson shows a simple tutorial on how to Boot the Pi Zero Model W, and get its IP address. Once you get the IP address, you will want to reserve that IP address for this device. You can do that through your wireless router, or if you are at work, talk to your Network Administrator. We plan to do a really cool project with this, so get your gear ordered now. The best deal we have found that has the two adapters you need can be ORDERED HERE.

This video takes you through setting up your Pi zero W step by step. Enjoy!